
I’ll never forget the sinking feeling I got when I realized I’d accidentally deleted product images from my WordPress site. My heart dropped as I refreshed the page, hoping they’d magically reappear.
They didn’t. I spent the next hour in a panic, clicking through backup files and searching for solutions.
That experience taught me something valuable that deleted images in WordPress aren’t always gone forever, but you need to act fast and know the right steps. And the good news is that you can recover lost images using the correct tools and plugins.
In this guide, I’ll show you how to restore deleted images in WordPress.
Why WordPress Images Get Deleted (And Why It’s Not Your Fault)
Before we jump into fixing the problem, allow me to explain how images actually disappear from WordPress sites.
The most obvious reason is accidental deletion. I’ve done this myself while cleaning up my media library. You’re scrolling through hundreds of images, trying to free up space, and you accidentally select the wrong file. One click later, it’s gone.
Plugin conflicts and theme updates can also break your images. When you switch themes, add a new plugin, or update your current ones, the new code might look for images in different locations.
Your files are still there, but WordPress can’t find them. This creates broken image links all over your site.
Database issues cause similar problems. WordPress stores information about your images in the database. If that data gets corrupted or deleted, your images become orphaned. The files exist on your server, but WordPress has no record of them.
Finally, hacked sites often have missing images. Attackers sometimes delete media files to cause chaos or make room for malicious files.
That said, WordPress doesn’t come with a ‘Trash’ folder for media files as you’d find for posts or pages. So simply clicking a restore button is not as easy as it may seem. However, let’s look at 2 very simple methods for restoring deleted images in WordPress.
Method 1: Restore Unused Media Files
Over time, you might have a lot of images that would be just sitting in your WordPress database, occupying space and collecting dust. Removing unused media files helps free up extra space, reduce backup size, and declutter your media library.
However, removing media files, even unused ones, can sometimes feel a little nerve-wracking. If you mistakenly delete an image that’s used somewhere essential on your site, then it can ruin the user experience. Plus, you’d have to manually restore the missing file again.
This is where Search & Replace Everything can help you out. It offers an automatic 30-day backup for your deleted media files. With a click of a button, you can restore any image to the media library.
Note: You’ll need the Search & Replace Everything Pro version because it includes the Remove Unused Media feature. There is also a Search & Replace Everything Lite version that you can use for free.
First, you’ll need to install and activate the Search & Replace Everything plugin on your site. If you need help, then please refer to this guide on how to install a WordPress plugin.
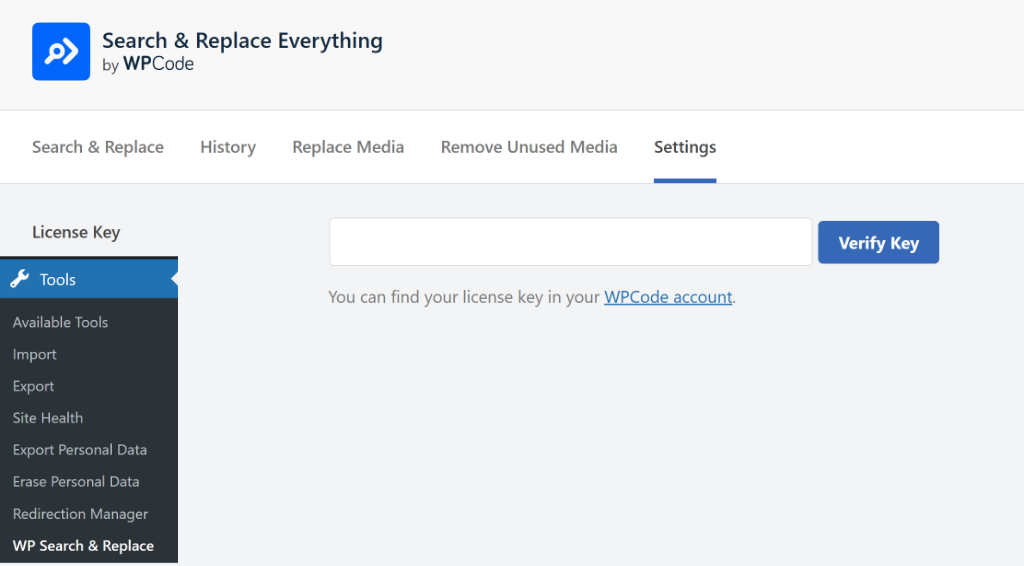
Once active, you can go to the Tools » WP Search & Replace page from the WordPress dashboard. From here, simply head to the ‘Settings’ tab and enter your license key. You can find the key in your Search & Replace Everything account area.
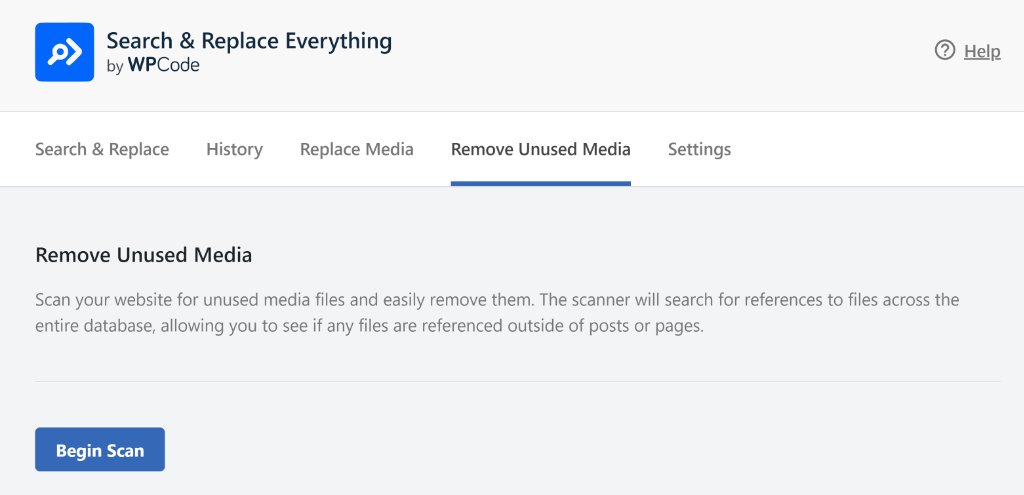
Next, you can switch to the ‘Remove Unused Media’ tab.
Here, you’ll see an option to scan your website and find media files that are no longer in use. Simply click the Begin Scan button to continue.
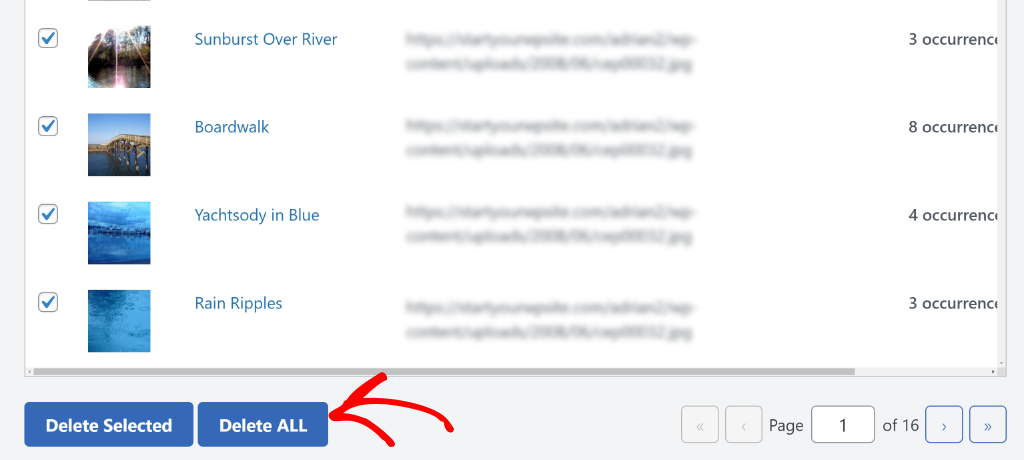
Once the scan is complete, you will see a list of images that are unused on your website.
You can simply select individual or all files you want to remove.
To learn more, please see our guide on how to delete unused images from WordPress media library.
After you’ve removed unused media files, you will see a Backups option under the ‘Remove Unused Media’ tab.
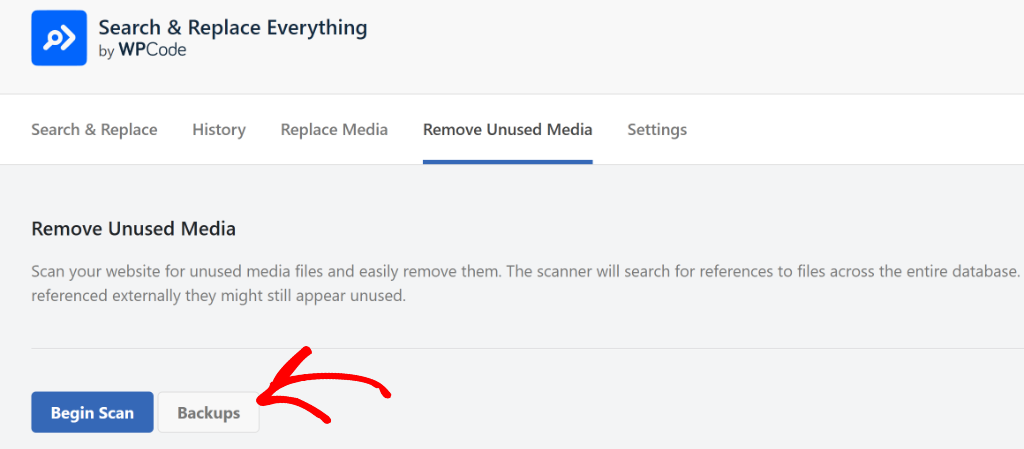
Go ahead and click the Backups button.
On the next screen, you will see the media file you removed using Search & Replace Everything. Simply click the Restore button to revert the changes.
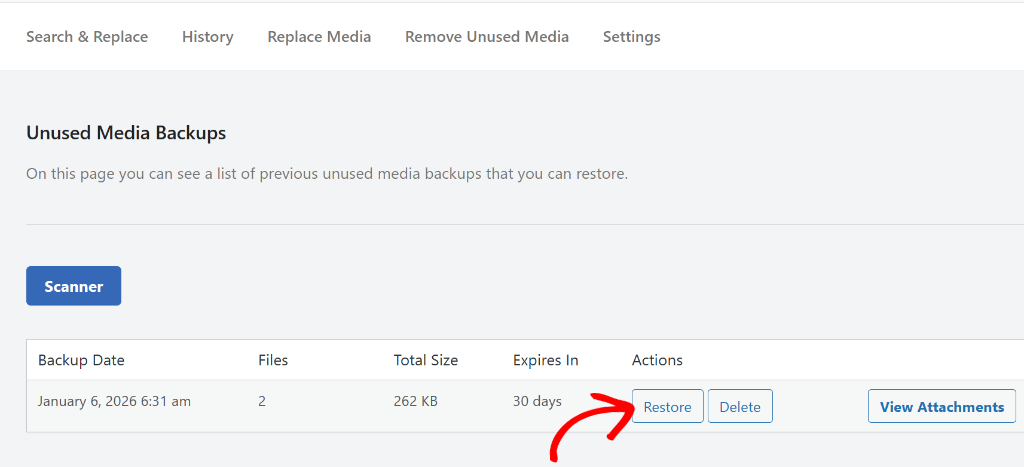
Next, you can go back to your WordPress media library and view the restored image file.
Method 2: Backup & Restore WordPress Media Library
Another way to restore deleted images in WordPress is by creating regular backups of your media library. This way, you will always have a fresh copy of your images that you can restore at any time in case of accidental deletion or when something goes wrong on your site.
The best way to create backups of your WordPress site and media files is by using Duplicator. It is the best backup plugin for WordPress and helps you store backups in cloud storage, easily restore them with 1-click, and more.
For this tutorial, I am using the Duplicator Pro version because it includes scheduled backups, cloud storage integrations, multisite support, and more. However, you can get started for free with the Duplicator Lite version.
To start, you’ll need to install and activate the Duplicator plugin on your website. If you need help, then please refer to this guide on how to install a WordPress plugin.
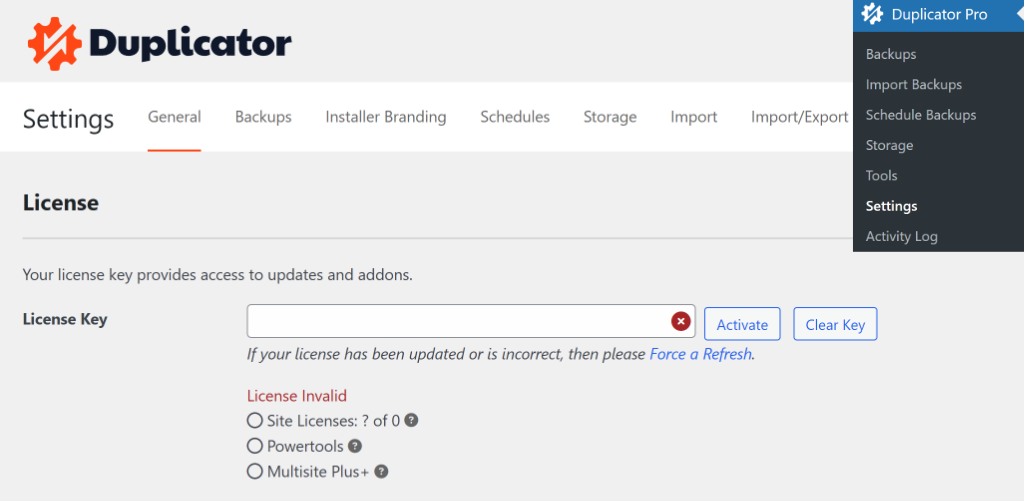
After installation, you can access the Duplicator Pro » Settings page from the WordPress dashboard. Then under the ‘General’ tab, enter the license key.
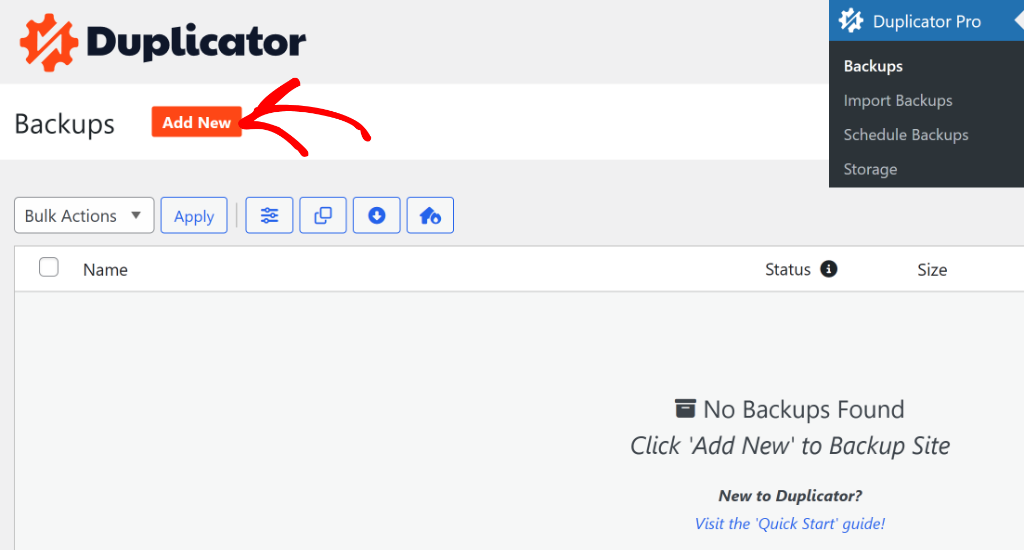
Next, you can head to Duplicator Pro » Backups from the WordPress admin panel.
From here, simply click the ‘Add New’ button.
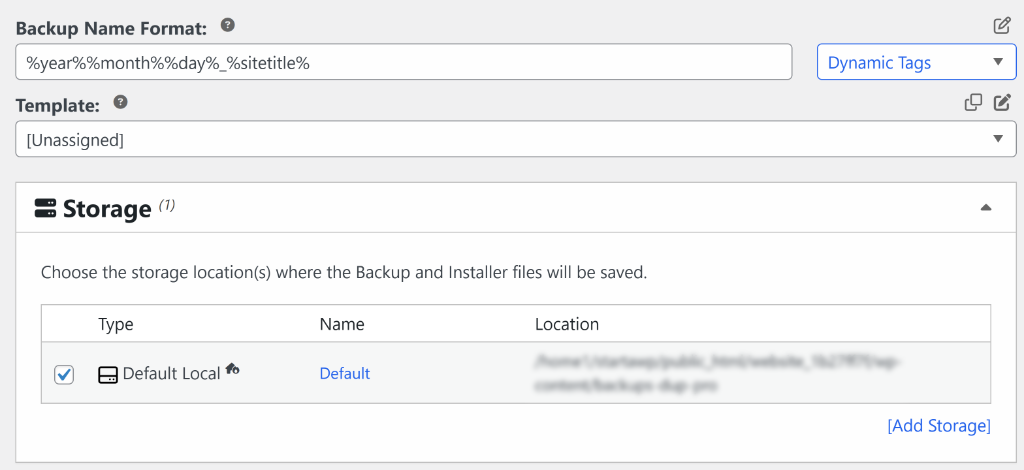
On the next screen, you can enter a name for your backup.
After that, expand the ‘Storage’ section and select a location for saving your backup. By default, the plugin will store it in the local storage. However, you can add more options and connect cloud storage providers, like Dropbox, Google Drive, Amazon S3, OneDrive, and more.
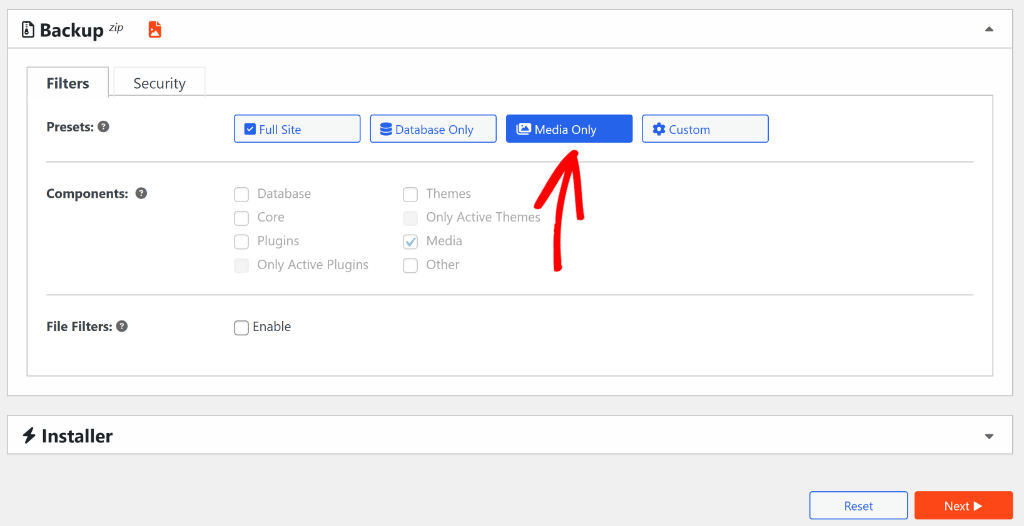
Next, you can go to the Backup section.
From here, select the Media Only option and then click the ‘Next’ button at the bottom.
After that, Duplicator will scan your website.
Once that’s done, you can simply click the Create Backup button.

Your WordPress media library will now be backed up by the plugin.
You can head to Duplicator Pro » Backups from the WordPress admin panel to view it.
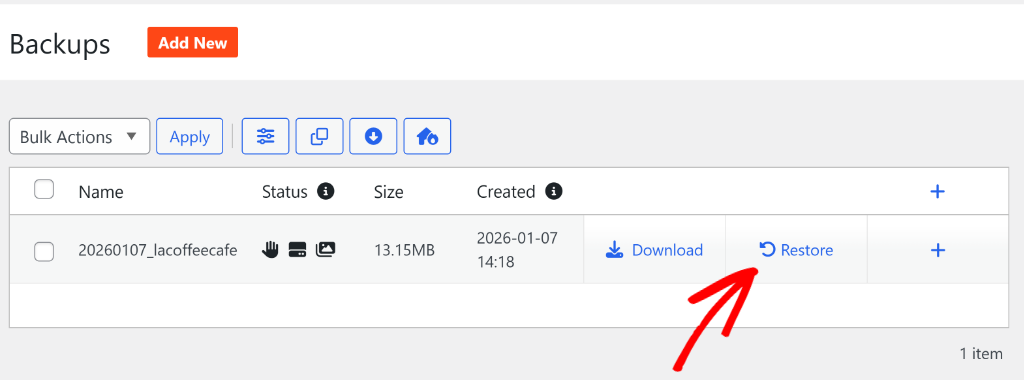
Here, you’ll see the ‘Restore’ button for your backup. Simply click it to restore deleted images on your WordPress site.
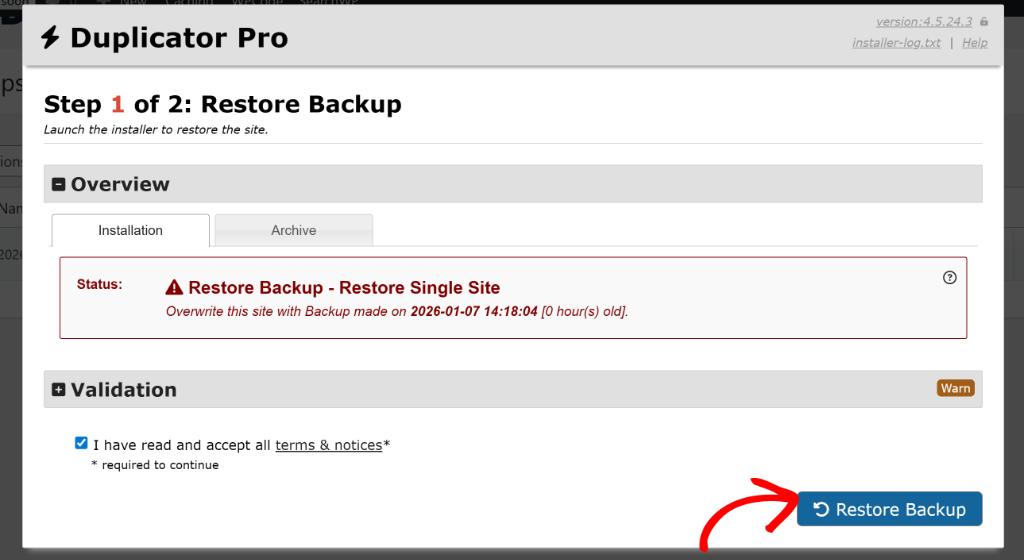
Next, a popup will appear where you will need to accept the terms and notices. Once you’ve done that, go ahead and click the Restore Backup button.
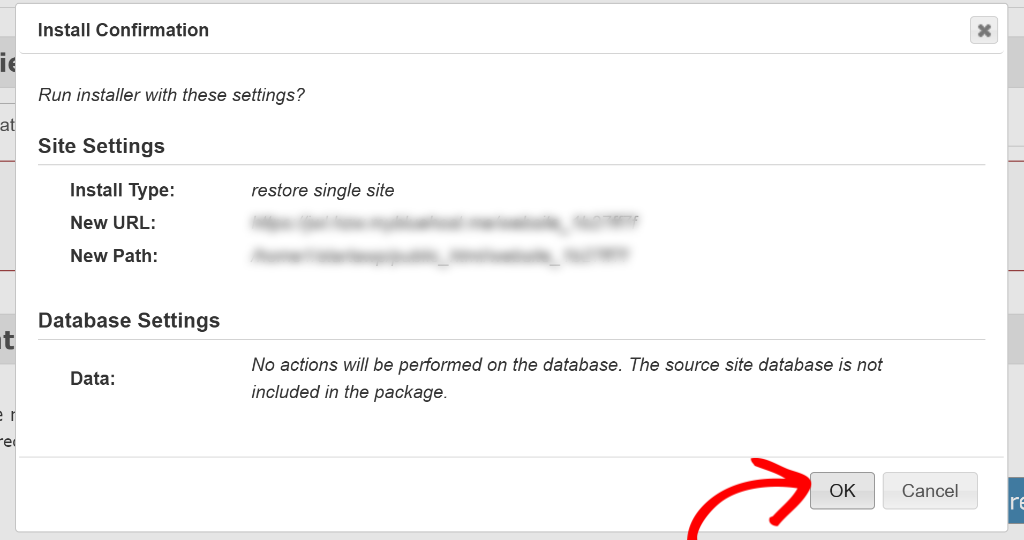
After that, you will need to confirm the installation settings.
Simply click the OK button to continue.
That’s it! You’ve now successfully restored deleted images using the media library backup in WordPress.
FAQs About Restoring Deleted Images
1. Can I restore images if I recently migrated my WordPress site?
Yes, migration issues are actually one of the easiest image problems to fix. Your images usually aren’t deleted, they’re just in the wrong location or have incorrect file paths.
2. Will restoring images slow down my website?
Restoring images won’t slow down your site any more than they did originally. You’re just putting back files that were already there. However, if you’re restoring hundreds of large images at once, consider compressing them first. This actually improves your site speed compared to the originals.
3. Can I recover permanently deleted images without a backup?
Unfortunately, recovering permanently deleted images without a backup is extremely difficult. Once images are removed from WordPress trash and deleted from your server, they’re usually gone for good.
I hope this article helped you learn how to restore deleted images in WordPress. You may also want to see our guide on how to search and replace text in your WordPress database and how to create a private code snippet library in WordPress.
If you need help, then feel free to leave a comment below. And don’t forget to follow us on X (formerly known as Twitter) and subscribe to our newsletter for all the latest updates.

