
If you ever felt overwhelmed by the number of code snippets required to monitor user behaviors, you would benefit from learning how to add Google Tag Manager to WordPress.
Tracking conversions, analyzing page views, or understanding user engagement traditionally requires separate code snippets to be inserted directly into your website’s code base.
This not only clutters your website’s backend but also poses a significant challenge in terms of management and updates.
Google Tag Manager provides a solution to these problems and makes your life as a website owner much easier.
What Exactly Is Google Tag Manager?
Google Tag Manager (GTM) is a free interface from Google that lets you add, update, and manage code snippets called tags on your website.
Integrating GTM with your WordPress site can dramatically enhance how you track and understand user behavior.
It saves time by keeping you away from making direct edits to website code and centralizes tag management.
It ensures that all of the different tags load cohesively, minimizing the impact on your site’s loading speed.
With GTM, you gain the ability to track various user interactions on your site through a simple, code-free setup process.
This process is straightforward and does not require extensive coding knowledge. So let’s get started!
How To Add Google Tag Manager To WordPress Using WPCode
You need to do a few things to install and set up Google Tag Manager (GTM) in WordPress properly. So let’s do them step by step.
Step 1: Setting Up Google Tag Manager
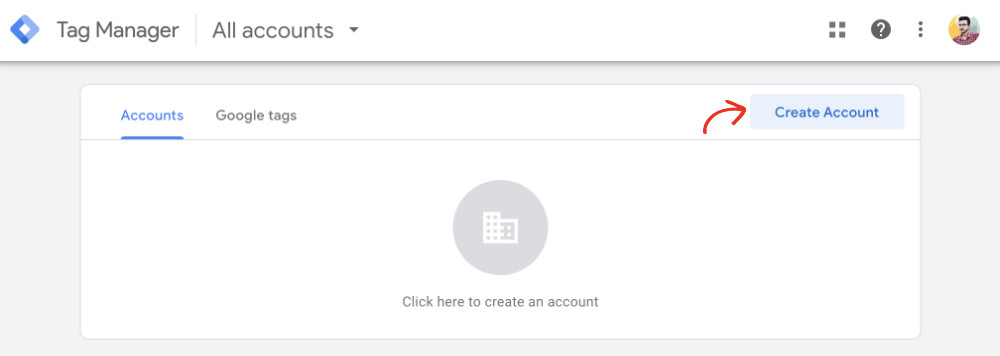
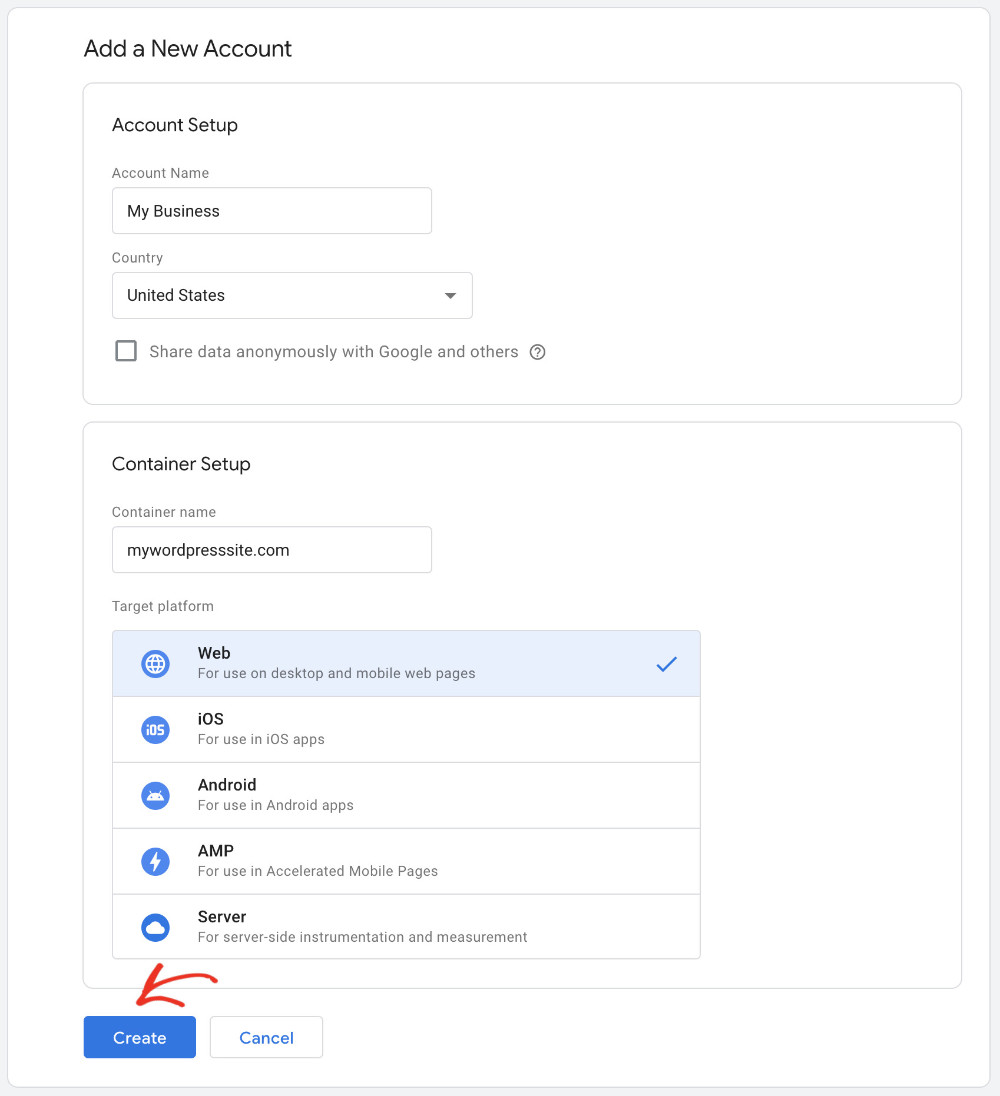
Sign in to Google Tag Manager (sign up if you don’t have an account already). Once you’re in, click “Create Account” from the “Accounts” tab.
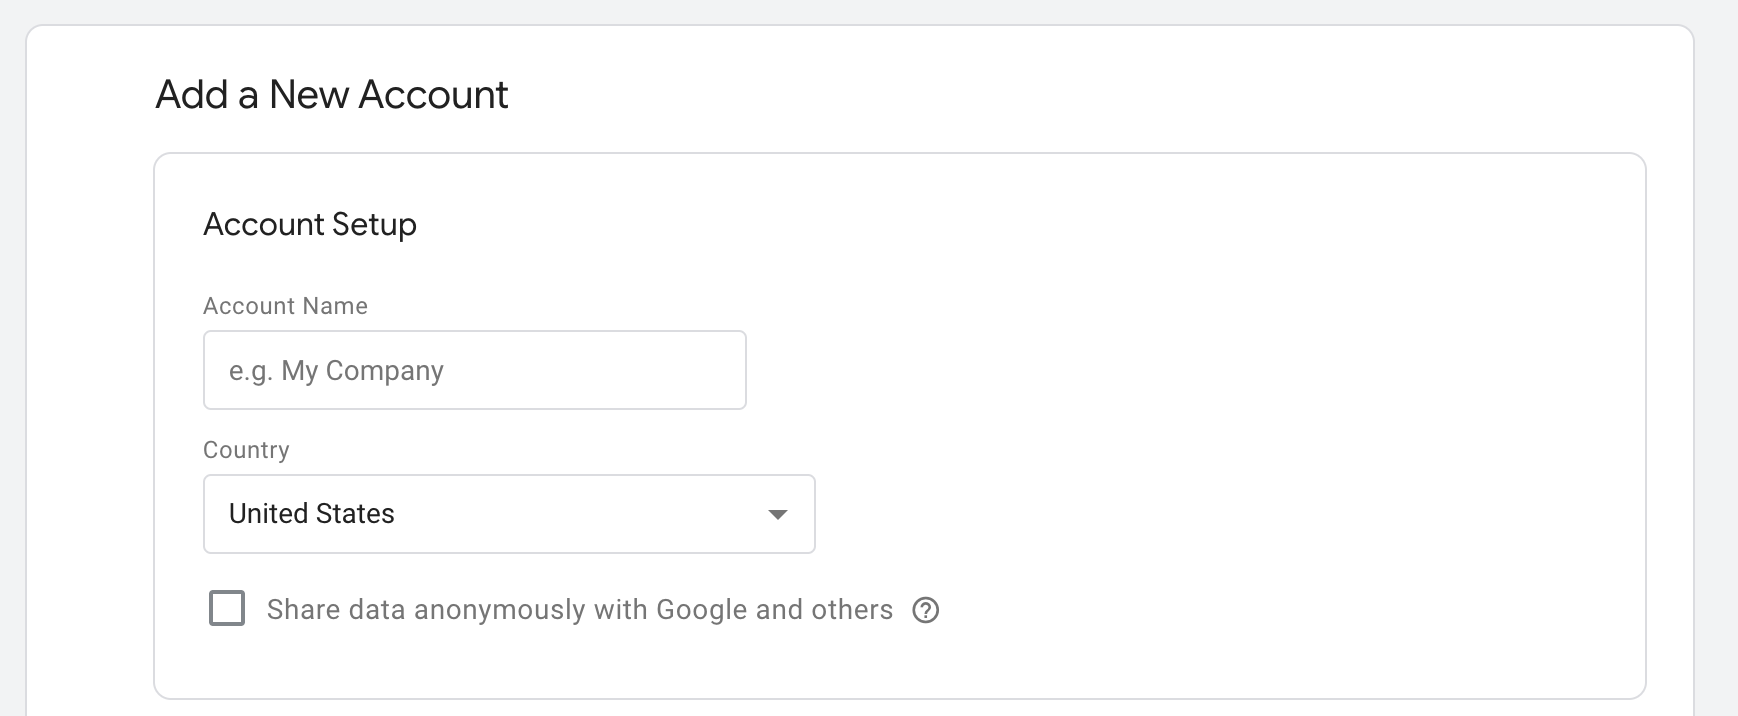
Please enter a name for your account (which can be your business name) and select the country of your market from the dropdown.
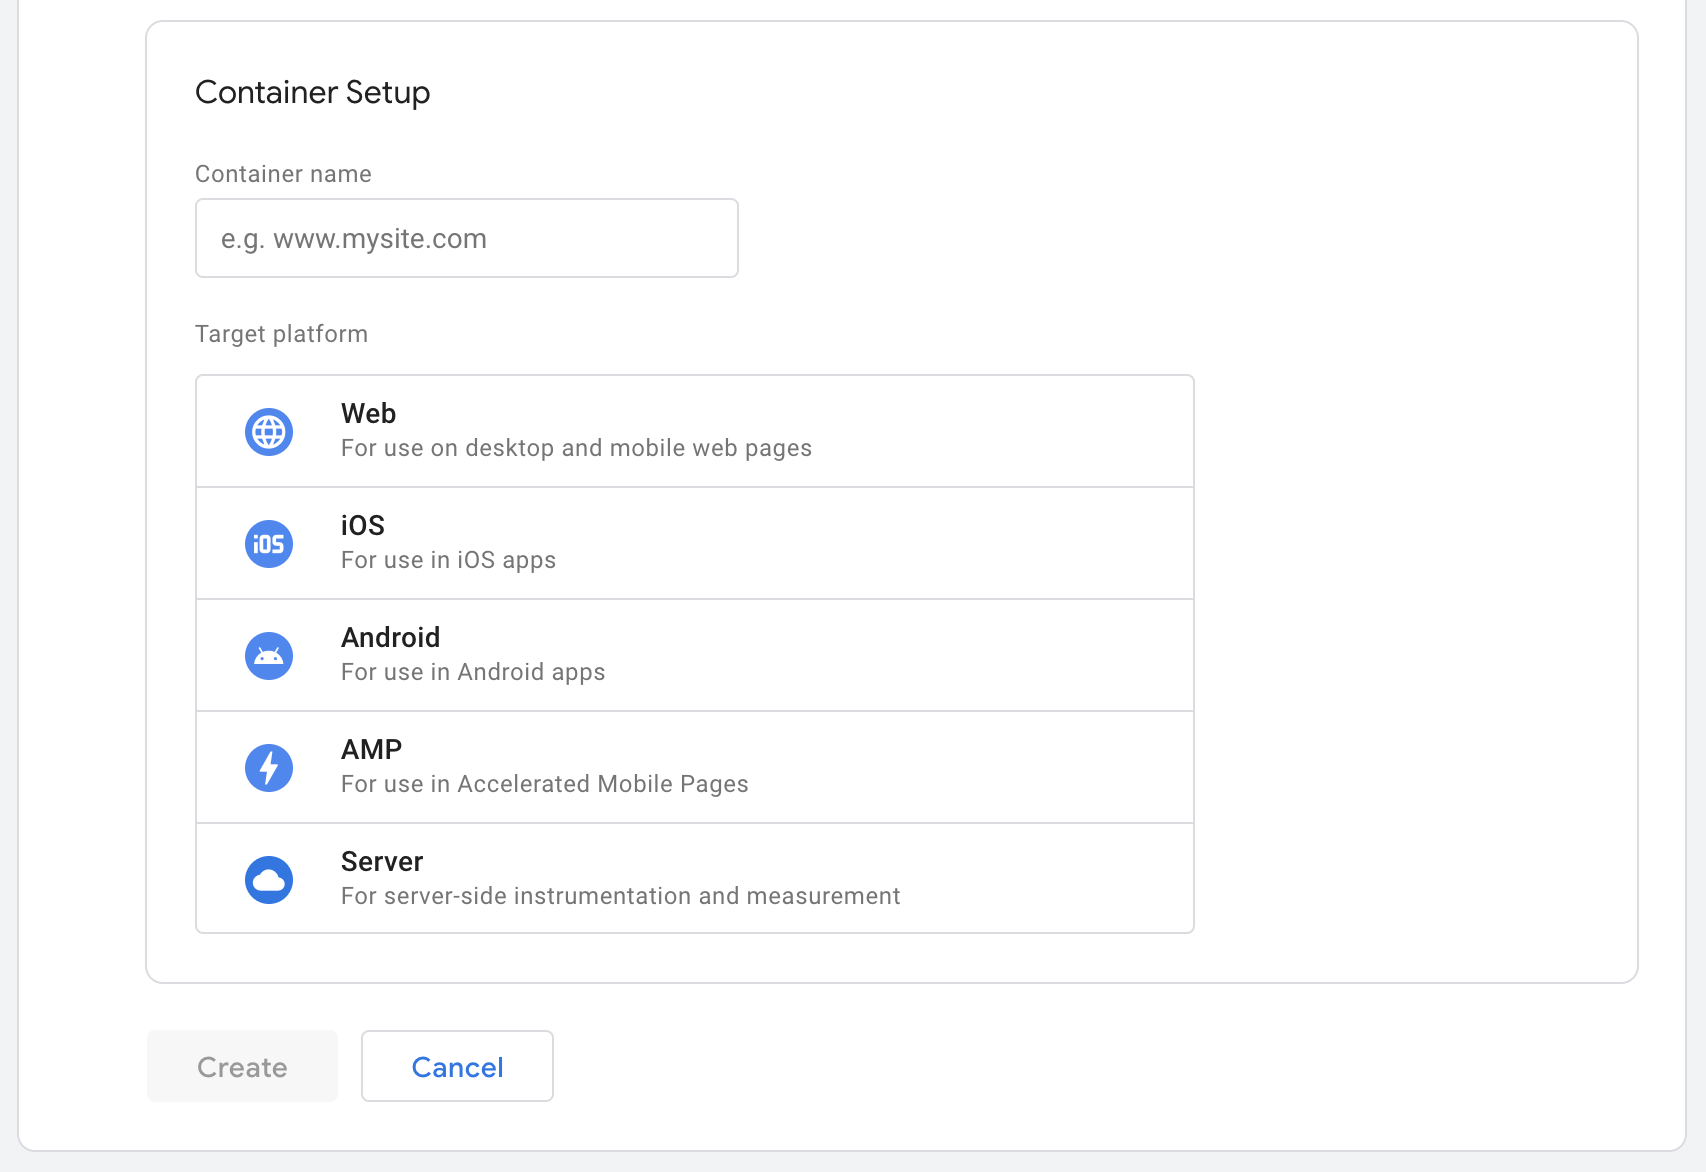
Additionally, you need to create a container. It’s the rules that govern all the tags in this basket. Since you’re adding GTM to your WordPress website, choose “Web” from the list. For your container name, you can put your website URL here.
You’ll see the Terms of Service from Google; select the checkbox at the bottom to accept and click “Yes” to complete your account.
Step 2: Getting Your Google Tag Manager Credentials
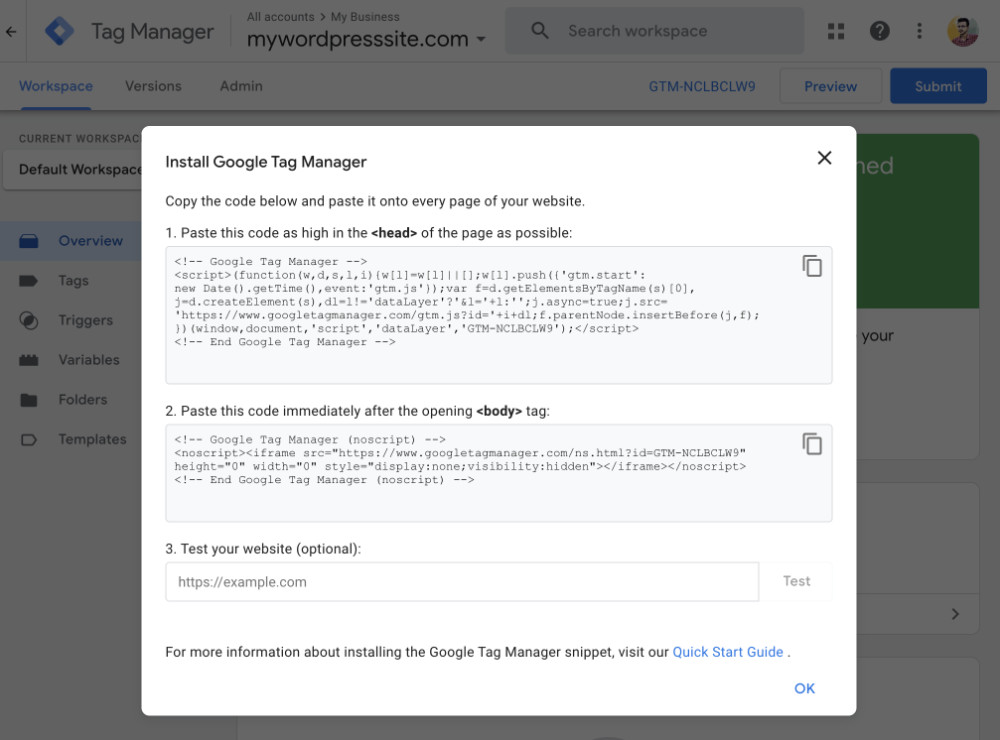
You are supposed to see a modal pop-up with your credentials immediately after you accept the terms of service. It should look like the following:
Don’t worry if you didn’t see it. From Tag Manager, navigate to the “Workspace” tab. You’ll notice your container ID formatted as “GTM-XXXXXX”; clicking on it will show your GTM credentials in a pop-up.
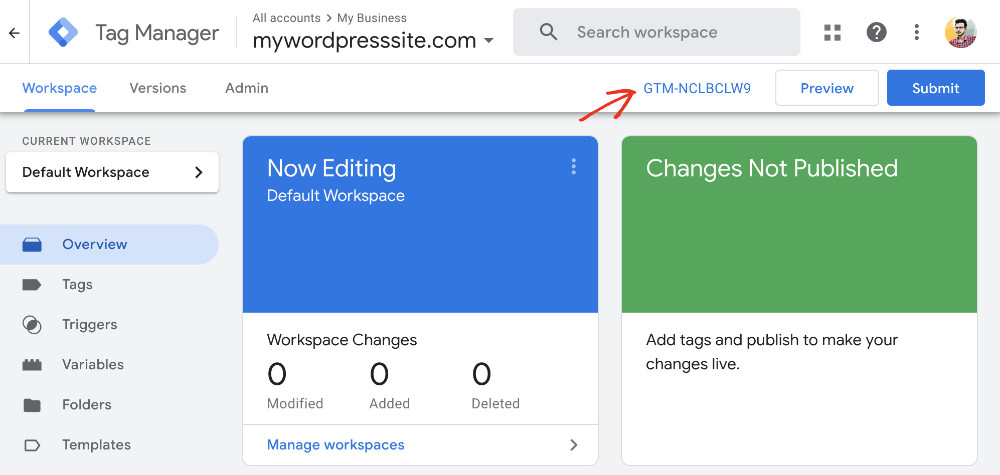
Keep the pop-up modal open; we’ll circle back here in a few moments.
Step 3: Adding The Code To Your WordPress Website
Google Tag Manager requires you to add scripts in the header and body parts of the website. There is a way to achieve that without having to touch the code base of your website.
The free version of WPCode lets you add scripts in the header, body, and footer sections of your website. Therefore, it’s perfect for adding GTM scripts to your website. Using WPCode, you can also add this script as a code snippet for more control.
You can install and activate WPCode like any other plugin in WordPress.
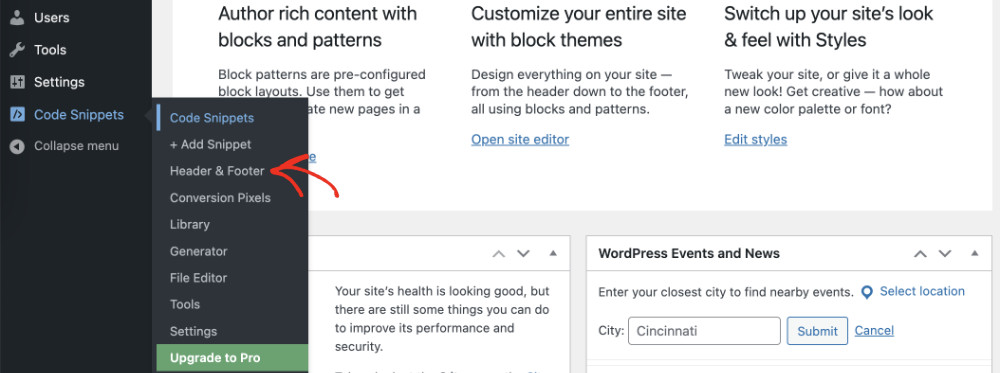
Once WPCode is activated successfully, you’ll see a new menu item labeled “Code Snippets” in your WordPress admin bar.
Step 4: Adding Google Tag Manager (GTM) To WordPress
From the backend Dashboard of your website, visit Code Snippets > Header & Footer. You’ll see the following page.
Now, return to the previous tab of your browser where Google Tag Manager is open, and copy the #1 code titled <head>. Come back to the browser tab where your website is open, and paste the code in the box titled Header.
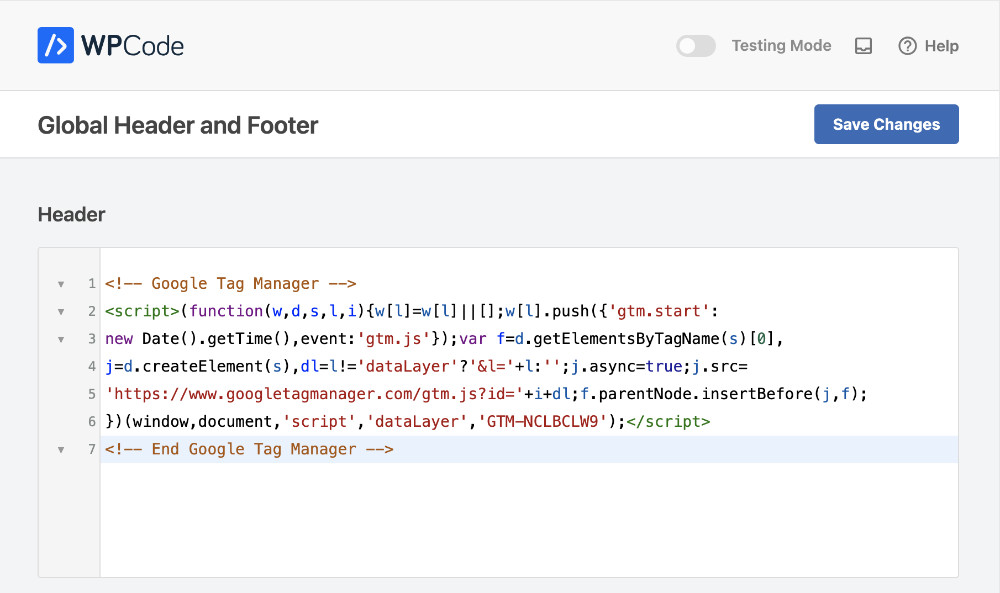
Then, copy the #2 code titled <body> and paste it into the box titled Body.
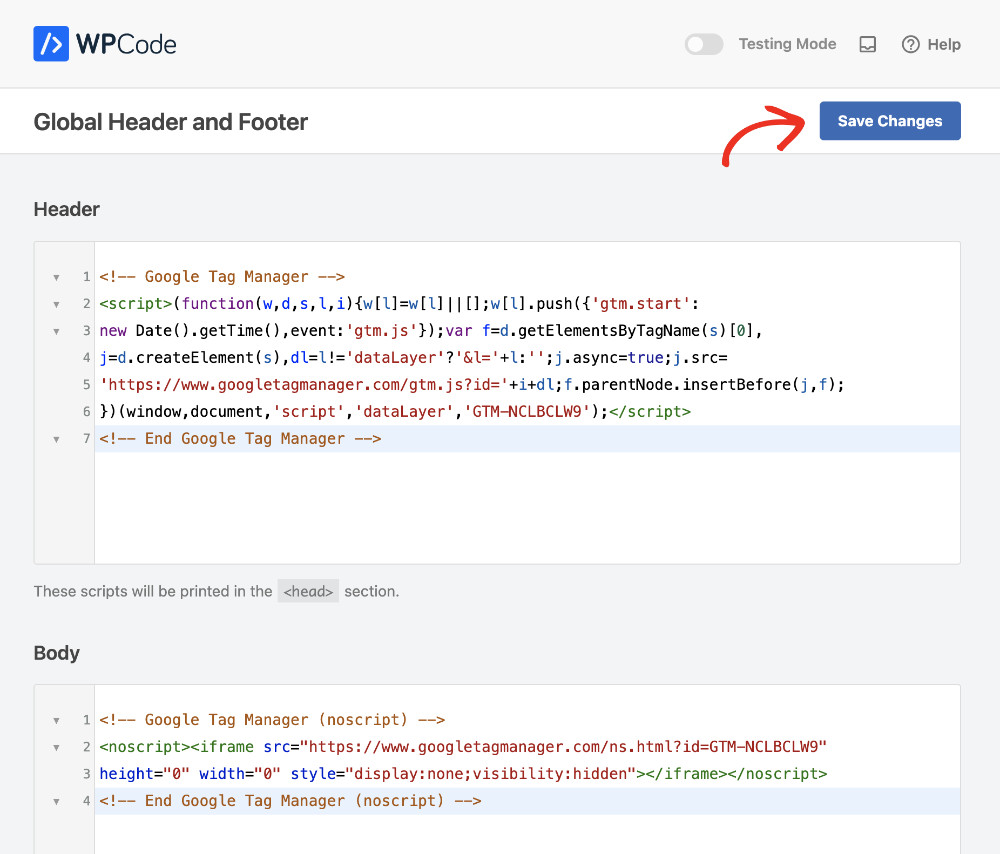
Click “Save Changes” when you’re done. This will add Google Tag Manager to your WordPress site.
How To Create Tags In Google Tag Manager
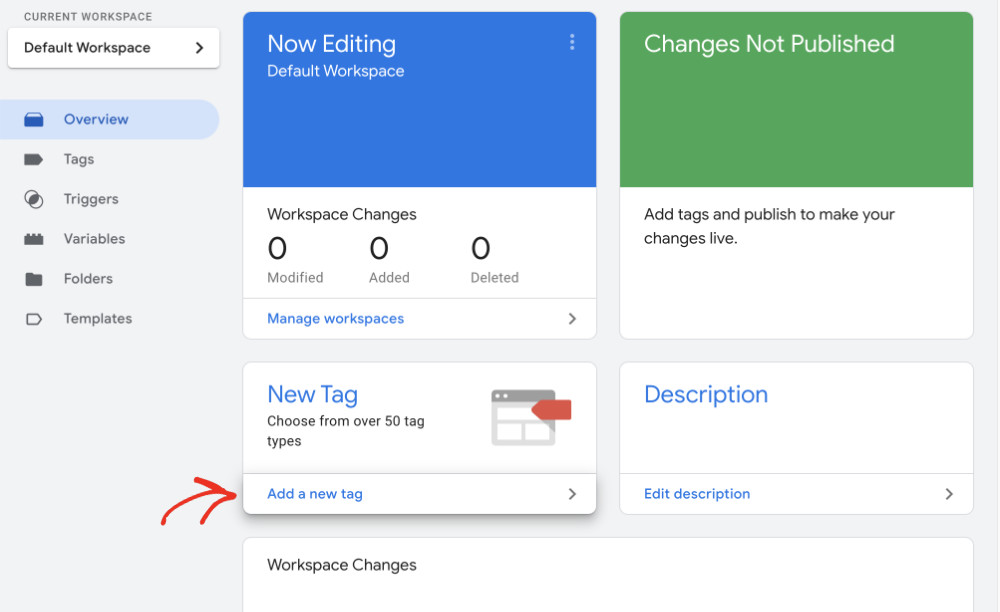
The whole purpose of adding Google Tag Manager to your WordPress site is to use tags to get insights into your website. For that, you need to create a new tag in Google Tag Manager. We’ll use Google Analytics as an example.
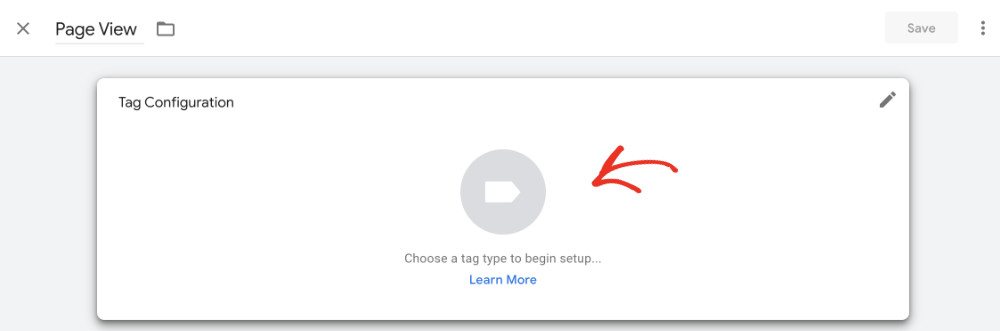
Click “Add New Tag” and you’ll see the following screen.
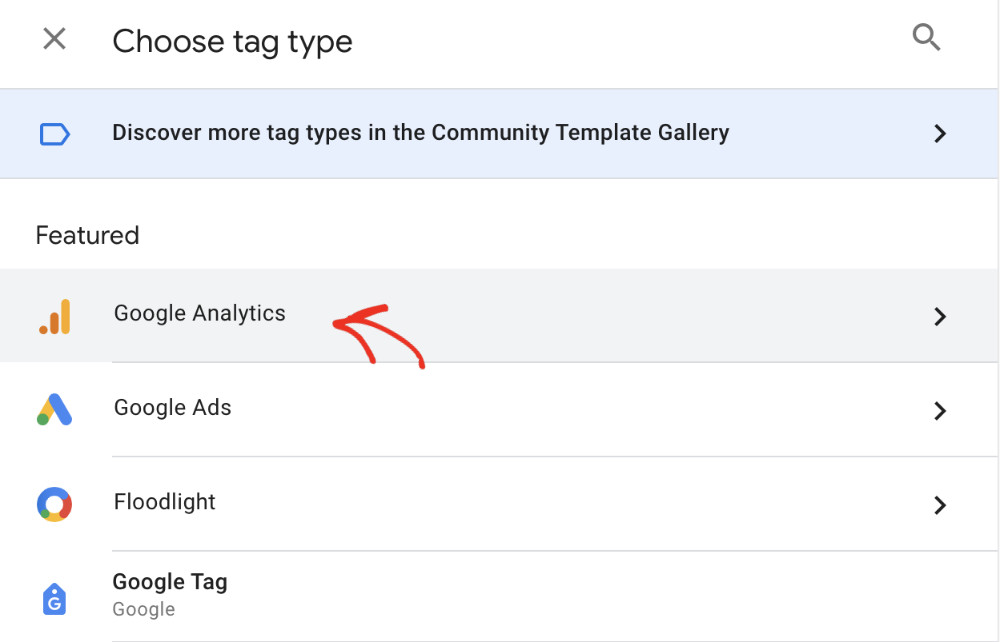
Give your tag a name, then click on “Tag Configuration.” This will show you the list of tags to choose from.
You can pick any, but as promised, let’s select “Google Analytics” for the purpose of this tutorial.
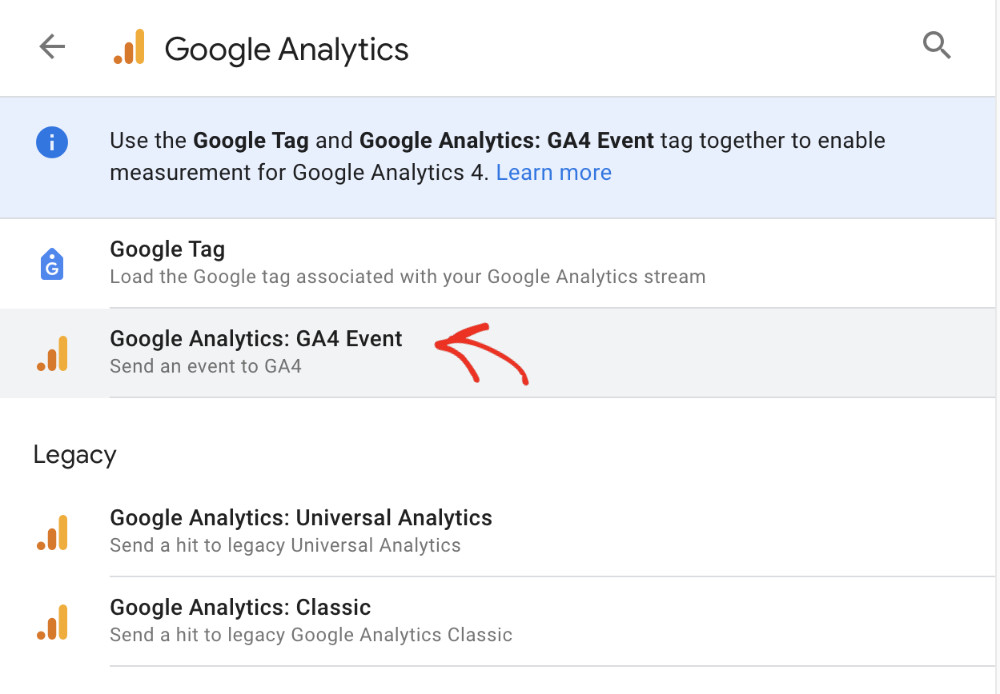
This will again show you different options available for Google Analytics; pick “Google Analytics: GA4 Event” from the list.
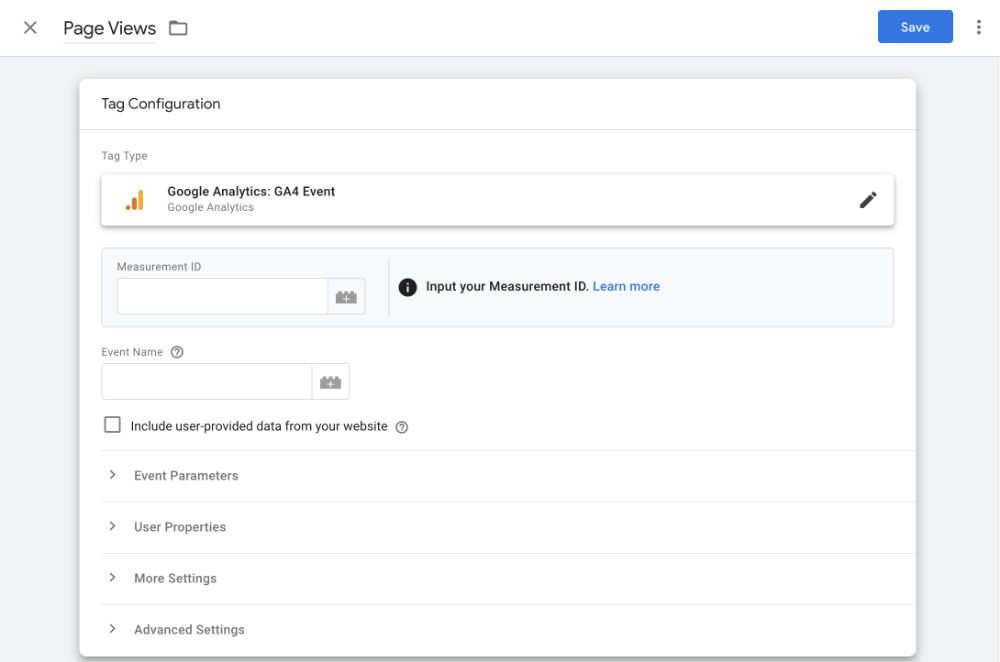
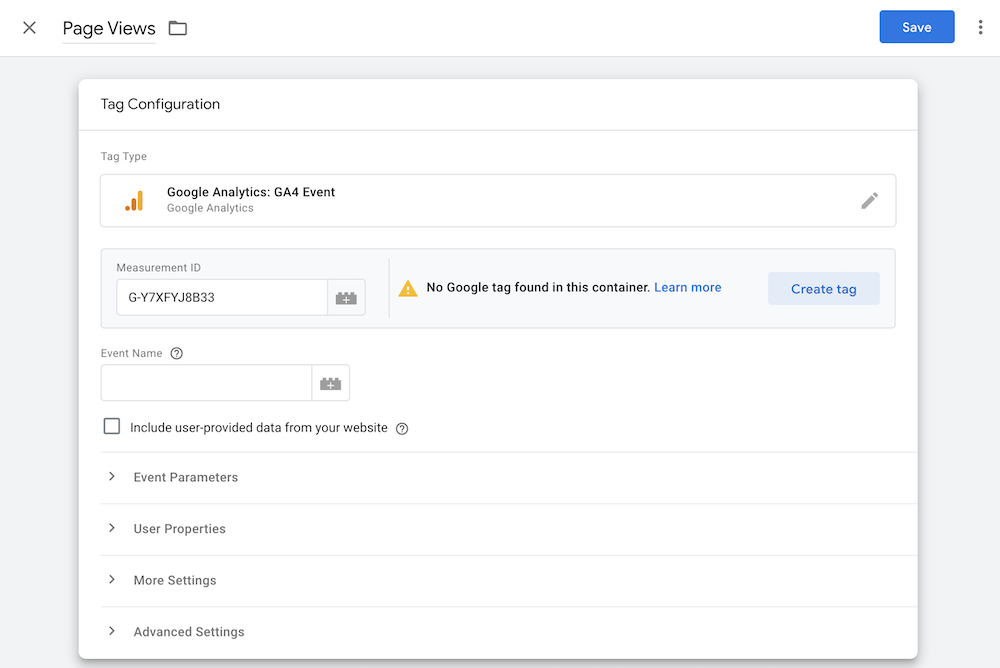
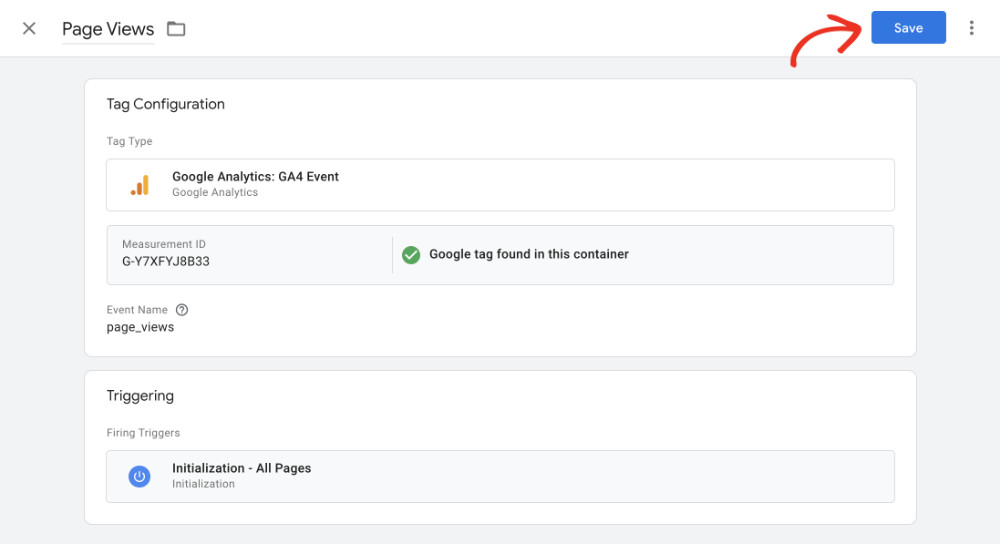
Now, you need to add the Measurement ID and the Event Name to proceed.
To find your Measurement ID, open a new tab on your browser once again and log in to your Google Analytics account.
Navigate to “Admin”; under “Data collection and modification,” you’ll find “Data streams”. Click on it and select the Web tab. Click the web data stream. You’ll find the measurement ID in the first row of the stream details.
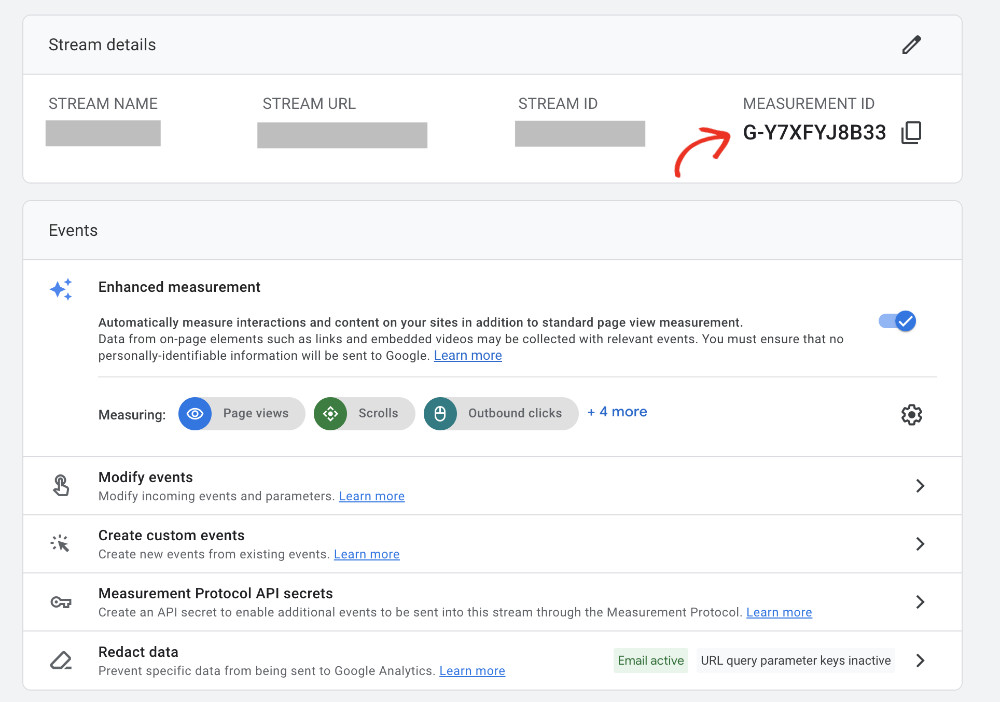
Copy the ID and return to the Google Tag Manager tab. Paste it in the “Measurement ID” field. Once you paste that, you’ll see a notice saying, “No Google tag found in this container.”, that’s because we need to create a Google Tag for this tag to work.
Click “Create tag” and follow the instructions. You’ll end up creating a new Google Tag. Once that’s done, you’ll see the following check mark indicating everything is good to go. Also, give the event a memorable name.
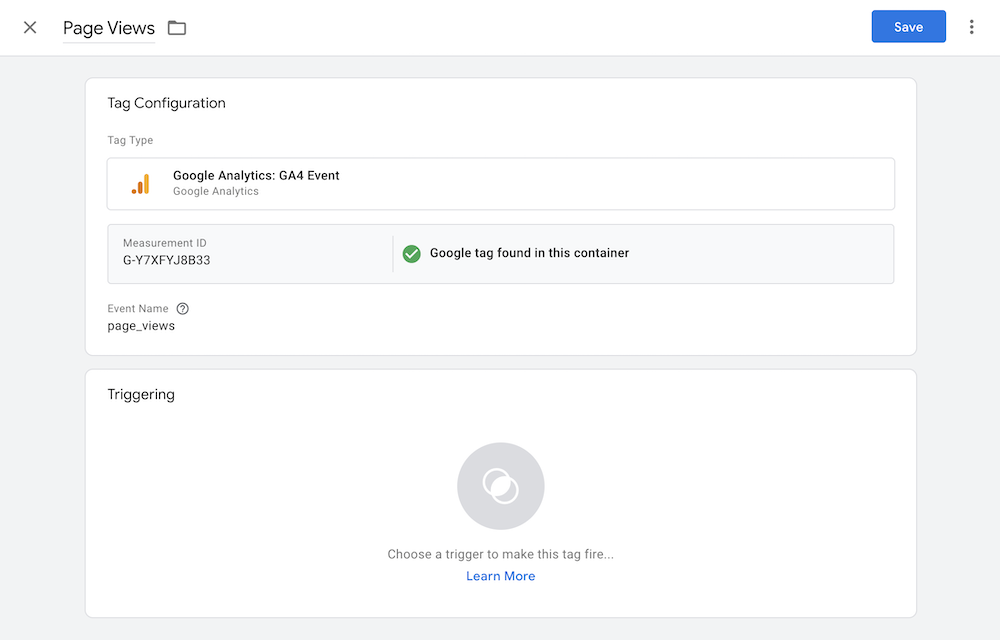
Now, you need to define when or how the event will be triggered. For that, click on Triggering.
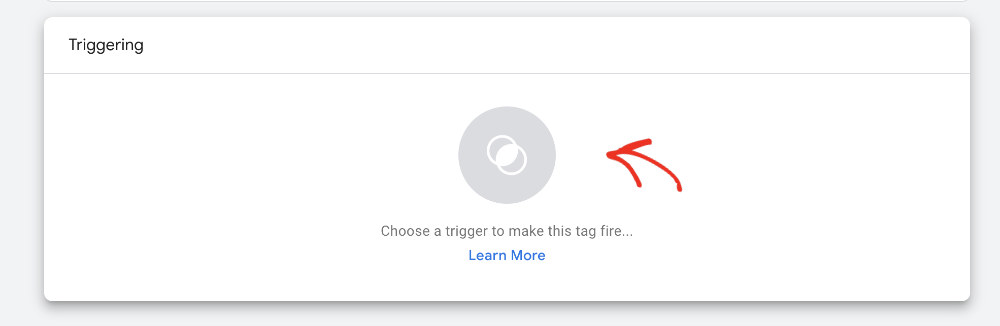
You’ll see all triggering options on a new screen; choose “Initialisation – All Page”.
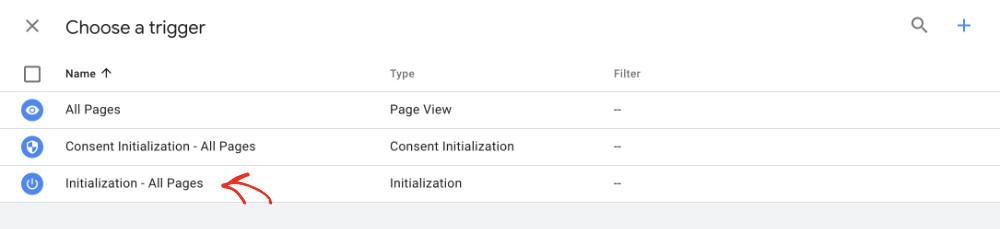
Finally, click on “Save” to store all the settings.
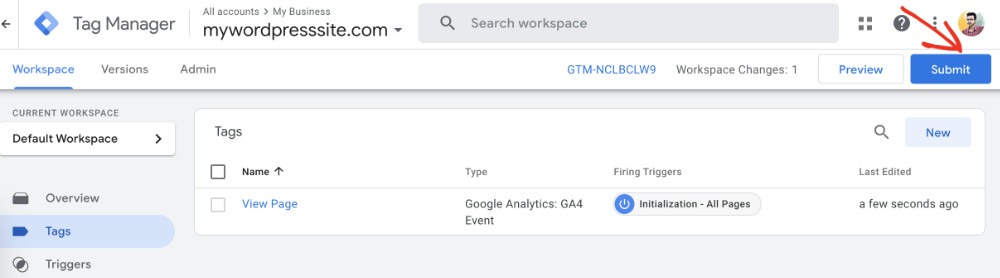
You can publish the tag by clicking the ‘Submit’ button on the top right.
Congratulations!
Now you know how to add Google Tag Manager to WordPress. GTM is an incredible tool to have at your disposal. It works as a manager of various kinds of code snippets that help you get critical information about your website.

