
Documentation, Reference Materials, and Tutorials for WPCode
Would you like to add a tracking or verification script to every page of your website? The Global Header and Footer settings let you insert code across your whole site from one screen, without editing your theme files. Because the code lives with WPCode instead of your theme, it stays in place when you switch themes or update them.
In this guide, we’ll walk you through adding scripts to your site’s header, body, and footer.
Before you get started, make sure WPCode is installed and activated on your WordPress site.
To get started, we’ll open WPCode’s Global Header and Footer settings.
From your WordPress admin sidebar, go to Code Snippets » Header & Footer.
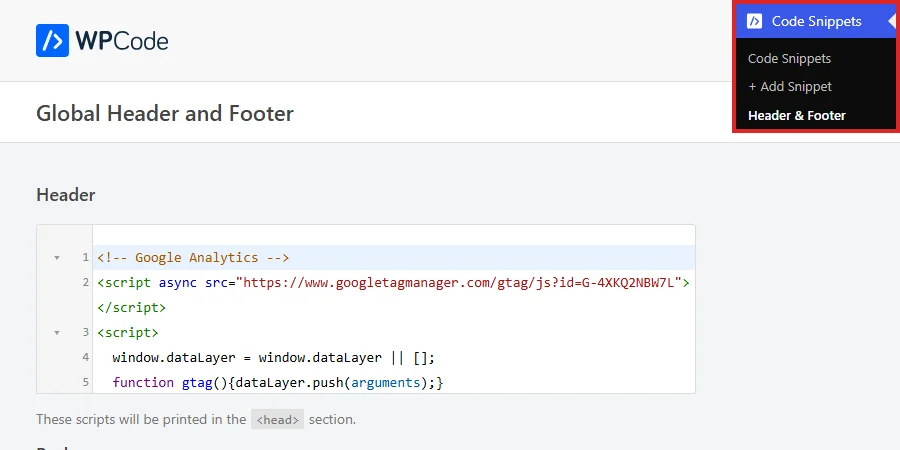
The Global Header and Footer page opens with three code fields stacked in the order they appear on your site: Header, Body, and Footer. You only fill in the fields your provider asks for, and any field you leave blank adds nothing to your pages.
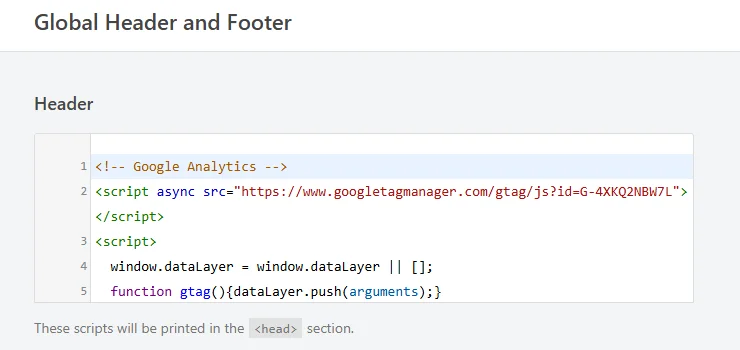
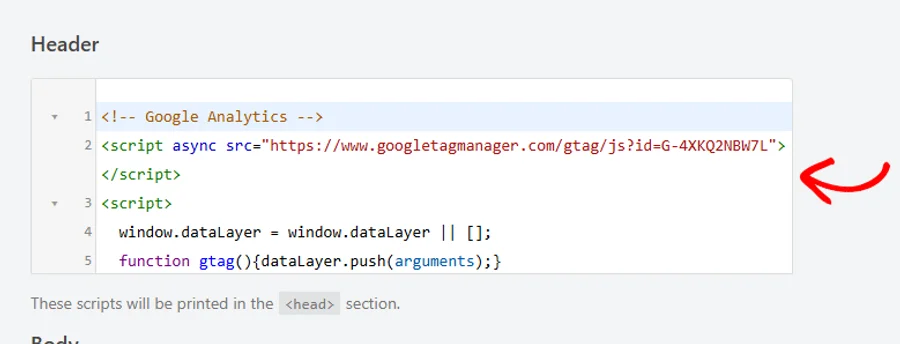
Anything you add to the Header field is printed in the <head> section of every page. Most third-party snippets belong here, including analytics tags and advertising pixels. Search engines also ask you to add a verification tag here to prove you own the site.
In the Header field, add your snippet exactly as the provider gave it to you, including the opening and closing <script> tags. WPCode prints the field contents as they are. A snippet without its tags will show up as plain text on your pages.
With your header code in place, the next field down handles snippets that have to load inside the body of the page.
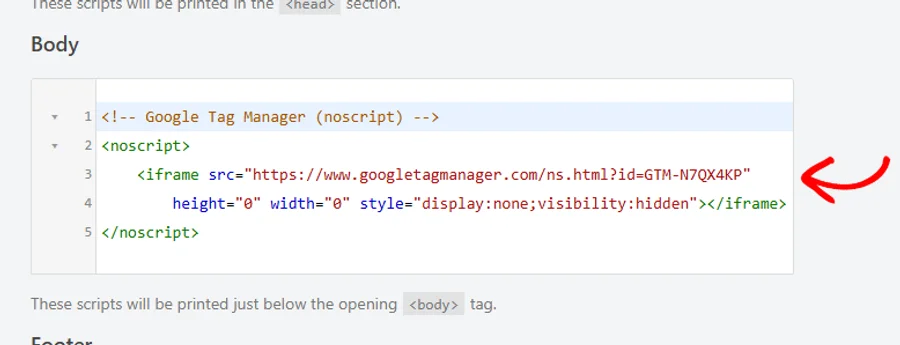
Code in the Body field is printed just below the opening <body> tag.
Some providers give you two snippets to install. One goes in the header, and the second has to sit at the very start of the body. Google Tag Manager is the most common example, and its <noscript> block goes here.
In the Body field, add the second snippet from your provider. If your provider only gave you one snippet, leave this field empty.
The Body field is now set, which leaves the Footer field at the bottom of the page.
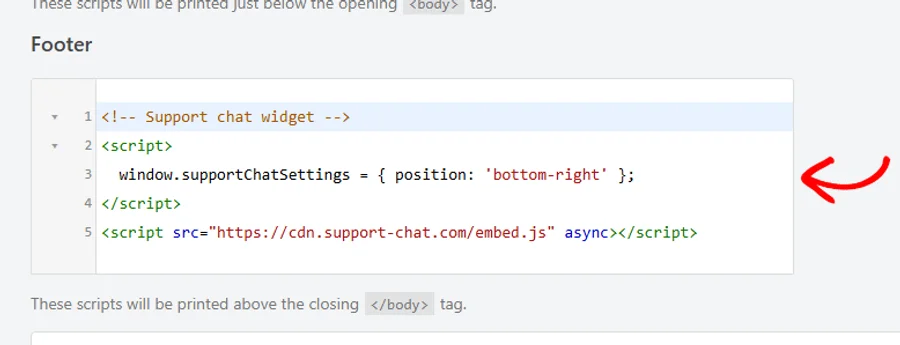
Code in the Footer field is printed just above the closing </body> tag, which makes it the last thing the browser reads. Scripts that are not needed to draw the page belong here, such as live chat widgets and support tools. Loading them at the end lets the rest of your content appear first.
Note: If a provider tells you where its snippet belongs, follow its instructions. When no location is given, the header is the safest choice.
In the Footer field, add any snippet that does not need to run before the page is drawn.
With all three fields filled in as needed, the next step is to make your changes live.
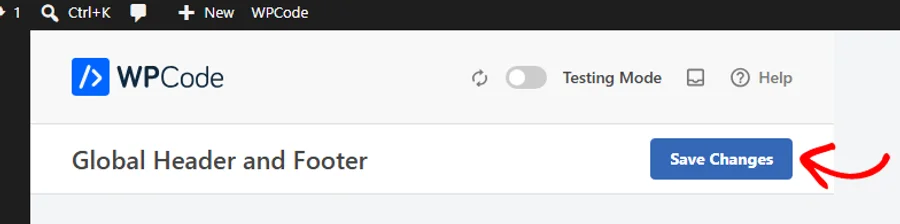
Your scripts are not live until you save them. The Save Changes button sits at the top right of the page, next to the page title, rather than at the bottom.
Once you have filled in the fields you need, click Save Changes.
A confirmation appears at the top of the page to tell you the settings were saved. It also reminds you to clear your site cache if you use a caching plugin, so that every visitor sees the updated code.
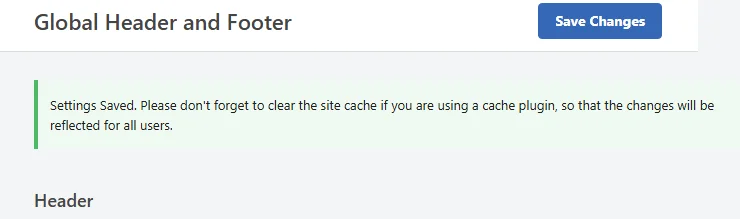
Your settings are now saved, and the last thing to do is confirm the code is loading on your site.
A quick check on the front end of your site confirms the code is loading where you expect it.
After saving, open your website in a new browser tab and view the page source. Most browsers show this when you right-click the page and choose the option to view its source.
Your header code appears near the top inside the <head> section. Body code appears just after the opening <body> tag, and footer code appears near the very bottom.
Note: If you do not see your code yet, clear your site cache and reload the page. Caching plugins serve a stored copy of your pages, so a visitor may keep seeing the old version until the cache is cleared.
That’s it! Your scripts now load on every page of your site. Next, you can learn how to create your first snippet for code that only needs to run in certain places. To control exactly where a snippet loads, see our guide on how to use smart conditional logic.
Below, we’ve answered some of the most common questions about adding global header and footer scripts.
Header code is printed in the <head> section, body code is printed just below the opening <body> tag, and footer code is printed above the closing </body> tag. Each field on the page states its location underneath it.
Yes. WPCode prints the contents of each field exactly as you entered them. Your snippet needs its opening and closing tags to run.
Yes. A field can hold as many scripts as you need, and WPCode prints them all in the order you entered them. Each script needs its own opening and closing tags.
The most common reason is caching. If you use a caching plugin, clear the cache after saving so your visitors receive the updated pages. The confirmation message after saving includes the same reminder. WPBeginner’s guide on how to clear your cache in WordPress walks through the steps for the most popular caching plugins.
Body code is placed using a WordPress feature called wp_body_open, which your theme needs to support. Most modern themes do. The Body field saves normally either way, so the difference only shows on the front end.
If your header and footer code appears but your body code does not, your theme is the most likely cause. Your theme author can confirm whether the feature is supported. Moving that snippet to the Header field is the quickest way to get it running in the meantime.
Future-proof your website with WPCode Snippets and improve the way you manage code across all your websites.
Copyright © 2026 WPCode. WPCode® is a registered trademark of WPCode, LLC


The WordPress® trademark is the intellectual property of the WordPress Foundation. Uses of the WordPress®, names in this website are for identification purposes only and do not imply an endorsement by WordPress Foundation. WPCode is not endorsed or owned by, or affiliated with, the WordPress Foundation.