
Documentation, Reference Materials, and Tutorials for WPCode
A Facebook Pixel is a piece of code that you can add to your website to track conversions, optimize ads, and build targeted audiences for future ad campaigns. In order to use the Facebook Pixel, you first need to find your Pixel ID.
The good news is that tracking your website’s traffic and conversions with the Facebook Pixel has never been easier, thanks to the WPCode Conversion Pixels Addon. This addon simplifies the process of adding your Pixel ID to your website, and it’s straightforward to set up. Not only that, but it also makes tracking eCommerce events very easy for your WooCommerce or Easy Digital Downloads store.
In this article you will find:
Let’s dive in.
The first step is to go to the Facebook Events Manager in your Facebook Business account.
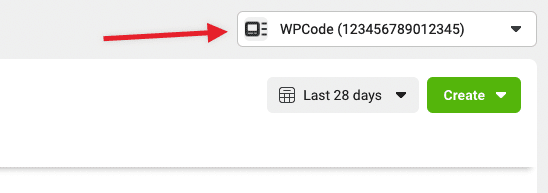
Make sure you are in the correct account using the dropdown in the top right of the page:
Once you select the correct account you will need to select the correct pixel for your site or create a new Pixel if you don’t already have one.
You can create a new pixel by clicking on the green plus button (Connect Data Sources) on the left side menu:
![]()
In the next step, select “Web” as the data source as you are connecting your website and click on “Connect”.
![]()
Lastly, give your pixel a name and click “Create Pixel”.
![]()
Now your pixel is created so you can close the “Check for partner integration” screen and copy the pixel id from the list on the left:
![]()
Finally, you can paste that id in your WPCode Conversion Pixels settings and click on Save Changes at the bottom of the page to save your Pixel ID. ![]()
That’s it! WPCode will now automatically insert the needed code to track your site using the Facebook Pixel.
Now that you Facebook Pixel ID is properly set up you can add your Facebook Conversion API Token to add an extra layer of tracking using the Facebook Conversions API.
In the same screen above, with your Pixel selected all you have to do is go to Settings, scroll down to the “Conversions API” section and look for the “Set up manually” label. Under the Get Started button you will find the “Generate access token” link.
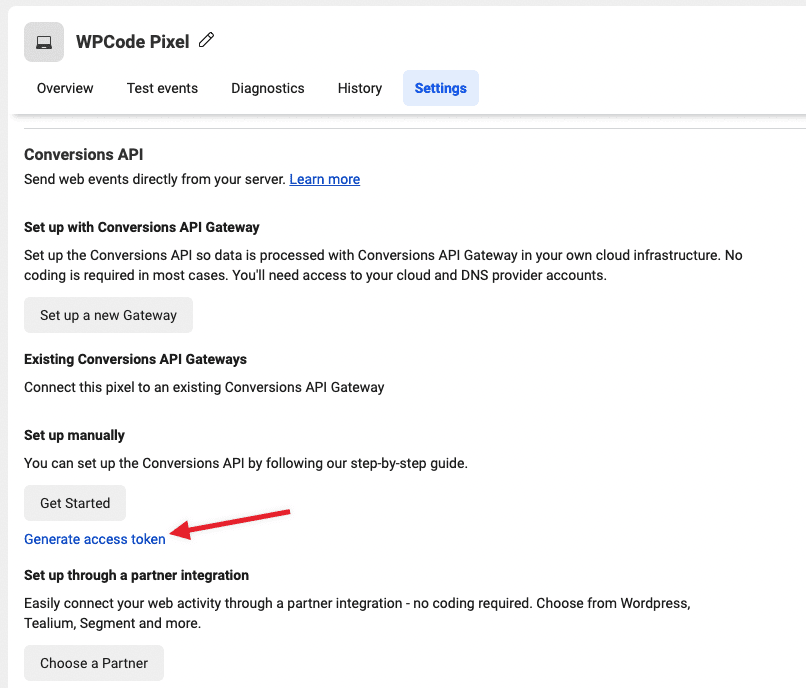
Once you click that link, your access token will be generated and you can copy/paste it to the WPCode Conversion Pixels addon in the “
![]()
Don’t forget to click Save Changes at the bottom of the page and you are all set to track eCommerce events using the Facebook Conversions API.
If you run into any issues don’t hesitate to reach out to our support team and we’ll help you get started.
Future-proof your website with WPCode Snippets and improve the way you manage code across all your websites.
Copyright © 2026 WPCode. WPCode® is a registered trademark of WPCode, LLC

The WordPress® trademark is the intellectual property of the WordPress Foundation. Uses of the WordPress®, names in this website are for identification purposes only and do not imply an endorsement by WordPress Foundation. WPCode is not endorsed or owned by, or affiliated with, the WordPress Foundation.