Copyright © 2026 WPCode. WPCode® is a registered trademark of WPCode, LLC

Documentation, Reference Materials, and Tutorials for WPCode
Ready to add a new code snippet to WPCode? Follow the steps in this article to find out how to add your first code snippet and what options you have.
Get started by logging in to your WordPress admin area. In that area, look for “Code Snippets” in the admin left sidebar menu and click it to get to the list of snippets.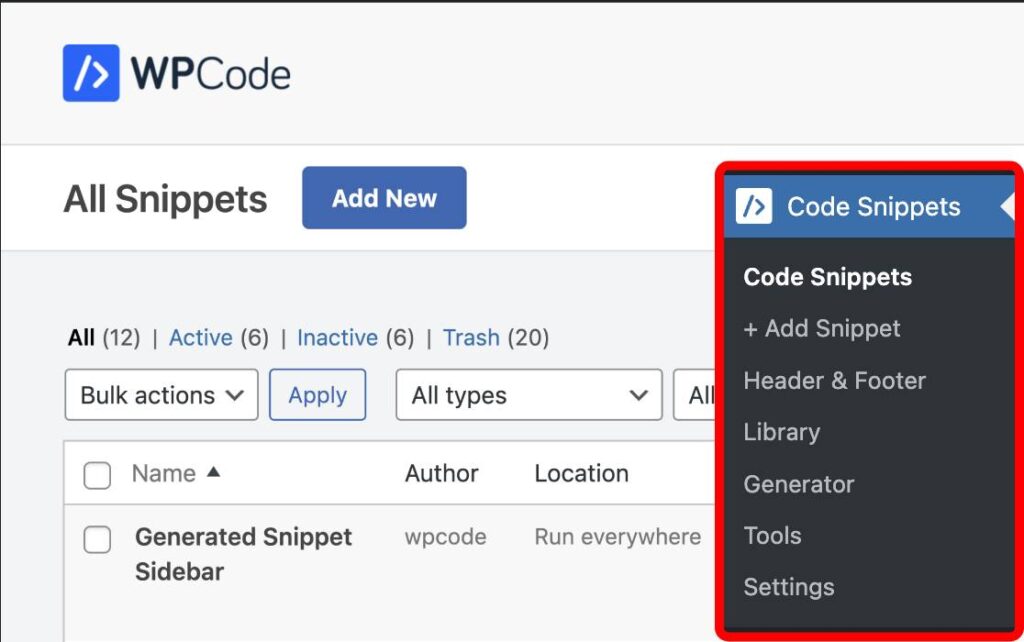
Next, you have to choose if you want to start a new snippet from scratch or load a snippet from the library.
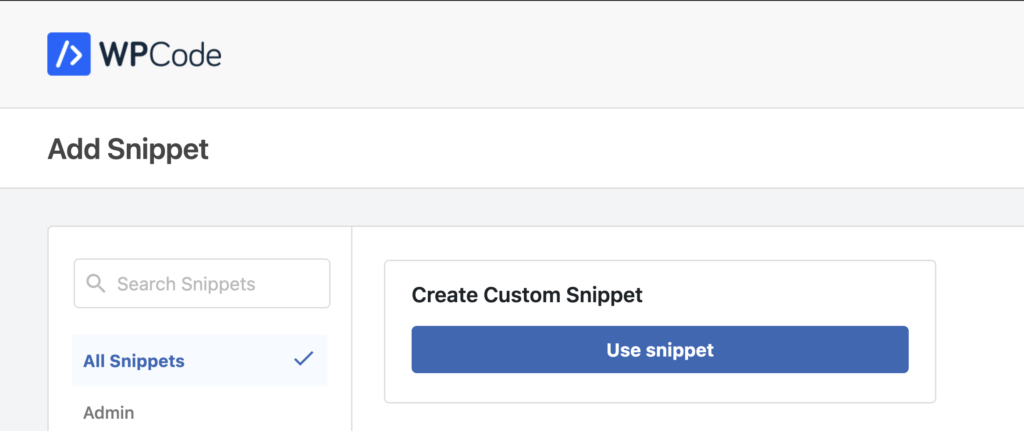
Library snippets can be previewed first and with 1 click you will have a new snippet created from the library snippet which you can use as-is or modify for your needs.
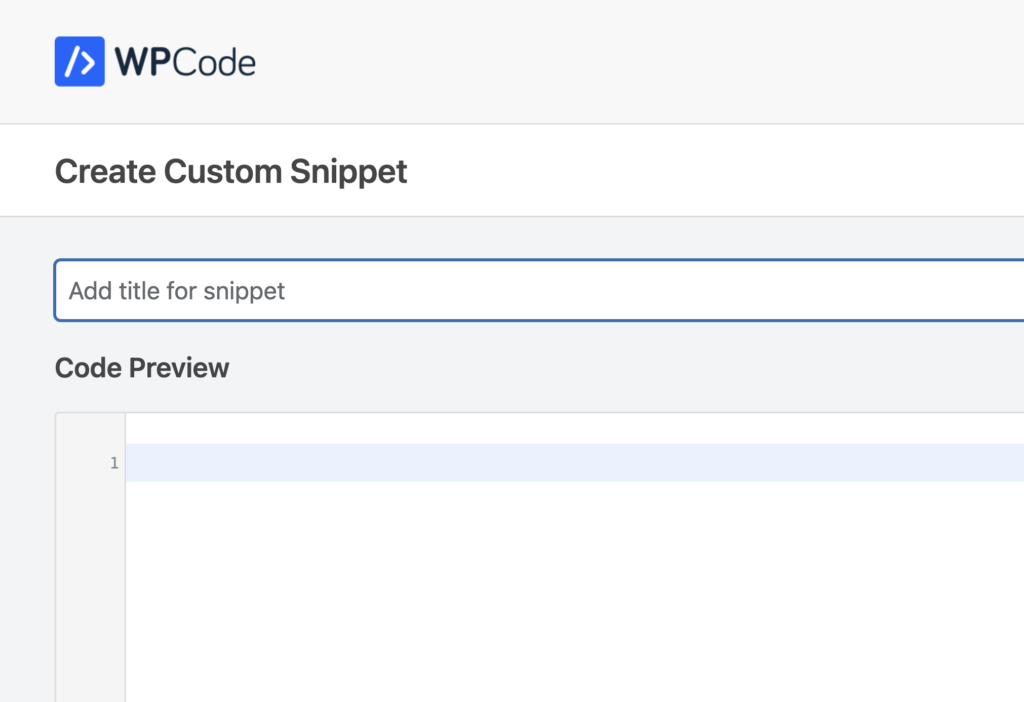
Regardless of how you choose to get started with the snippet the next step will be to choose a snippet title using the title field.
Now that your snippet is set up, and it has a name, you can start on the most important part: editing the snippet code.
The Snippet Code Editor is made up from 2 main fields: the code type picker (top-right) and the code editor.
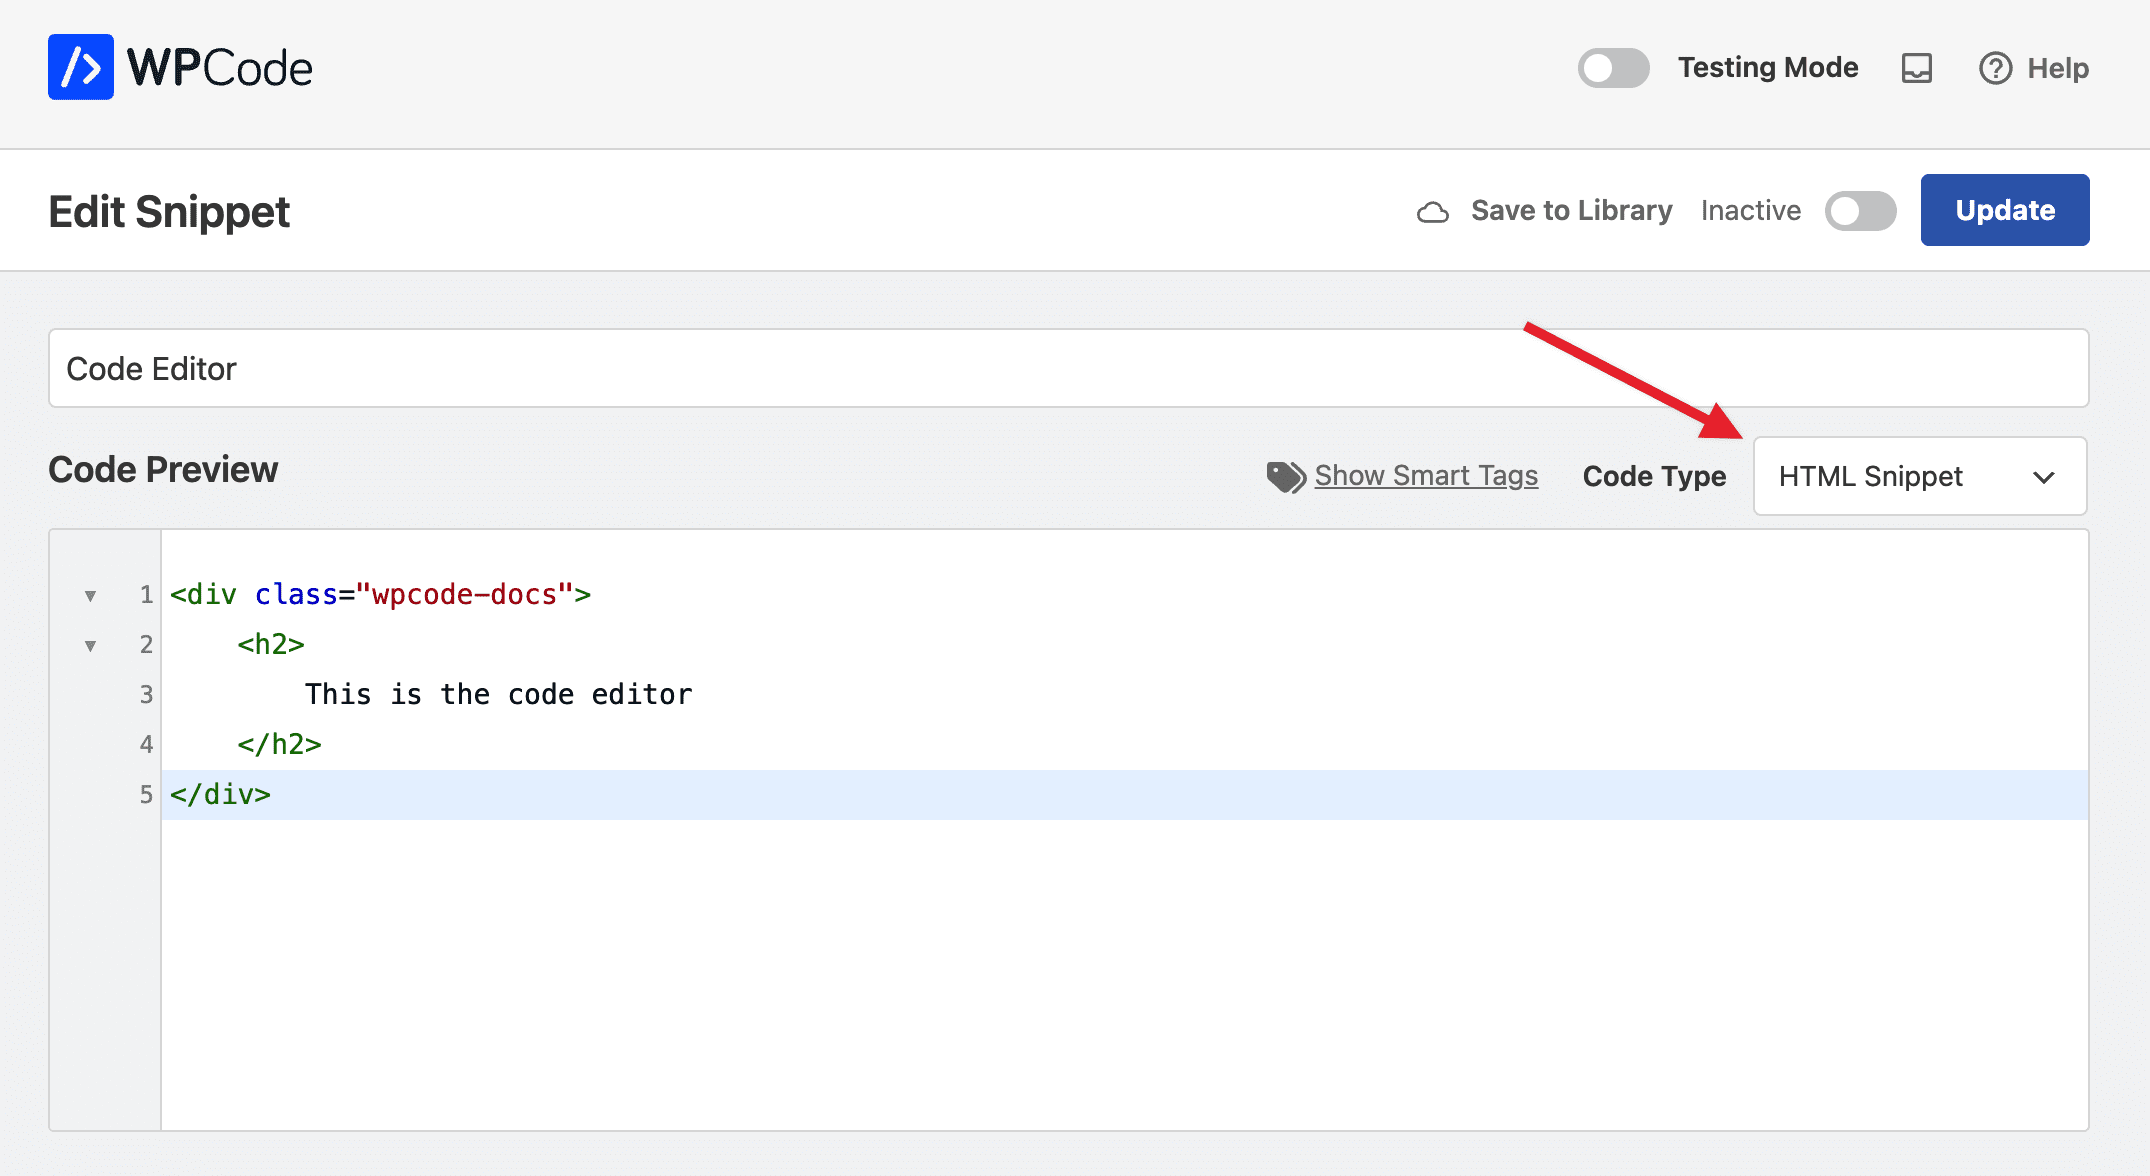
Before you get started you should select the right type of code for your snippet, if you started with a library snippet, the code type will get set automatically, same for snippets created using the Generator.
The code editor will adapt to the type of snippet you are editing and will provide code highlighting and even syntax validation for HTML and JavaScript snippets.
After you’re done with the setting up your snippet code or if you just want to test it, you should choose how you want to use it. The 2 main options are: as a shortcode (default) or Auto Insert.
The Auto Insert option provides a list of locations where your snippet can be automatically inserted and executed. These are major areas of your site where snippets will be added but, don’t worry, you can select more specific output options in the Conditional Logic section detailed a bit lower.
Some locations, like Before/After Paragraph or Before/After Post, will also ask you to input a number after or before which to add the snippet.
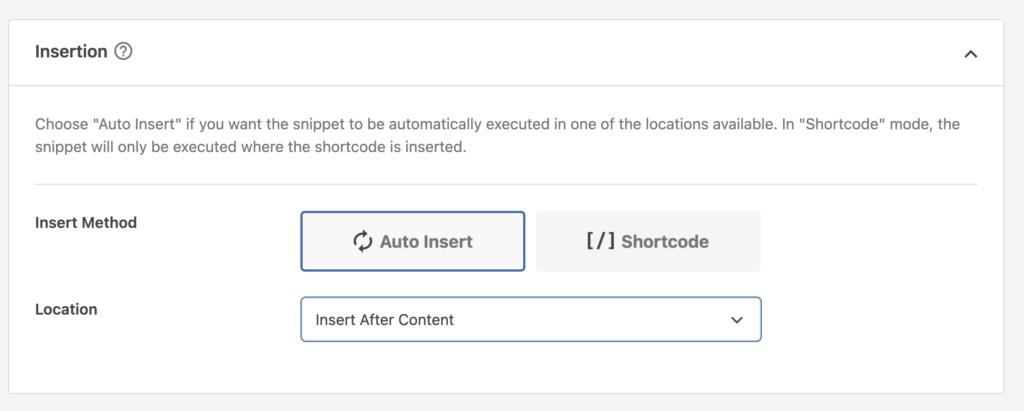
By default, the snippet is not automatically inserted and once you save it, you get a shortcode specific to this snippet which you can use anywhere on your site.
The next set of options is called Basic Info, and as suggested by its name, allows you to customize some details for your snippet.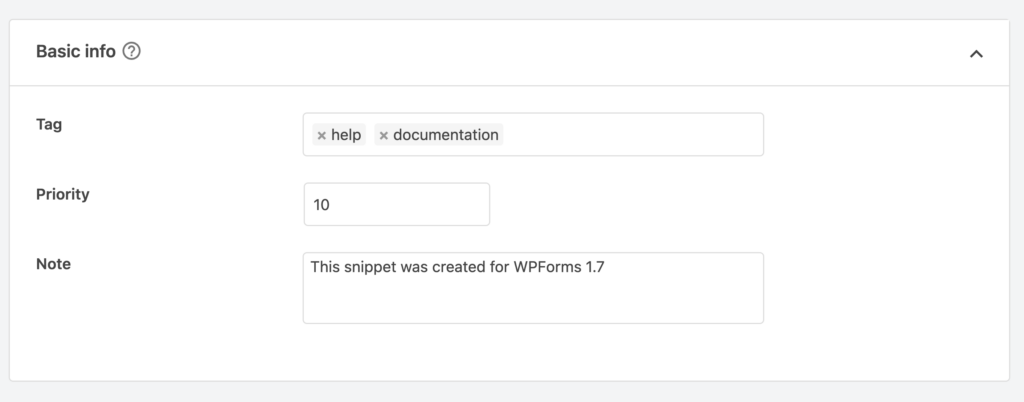
The first field “Tags” allows you to add or choose existing tags for your snippet, which will make it easier for you to group similar snippets together. You can use tags to filter when browsing the list of snippets or when you want to export snippets.
The Priority field allows you to choose a number which will control the order in which snippets get executed. This is very helpful when you want to display multiple snippets in the same location. A lower number will be executed earlier, and a higher number will be executed later. By default, all snippets get the priority 10 so if you want a snippet to display earlier than the others you can simply set that snippet to a priority of. 5.
The Note field simply allows you to leave private notes for you or anybody else that will edit this snippet.
The Conditional Logic box allows you to create powerful rules to either show or hide the snippet based on a set of rules. You can create groups of conditions that will all have to be true for the snippet to be show/hidden, but also “OR” rules to add multiple groups of such combination of rules.

The last step of setting up a new snippet is saving it and activating it (if it’s ready).
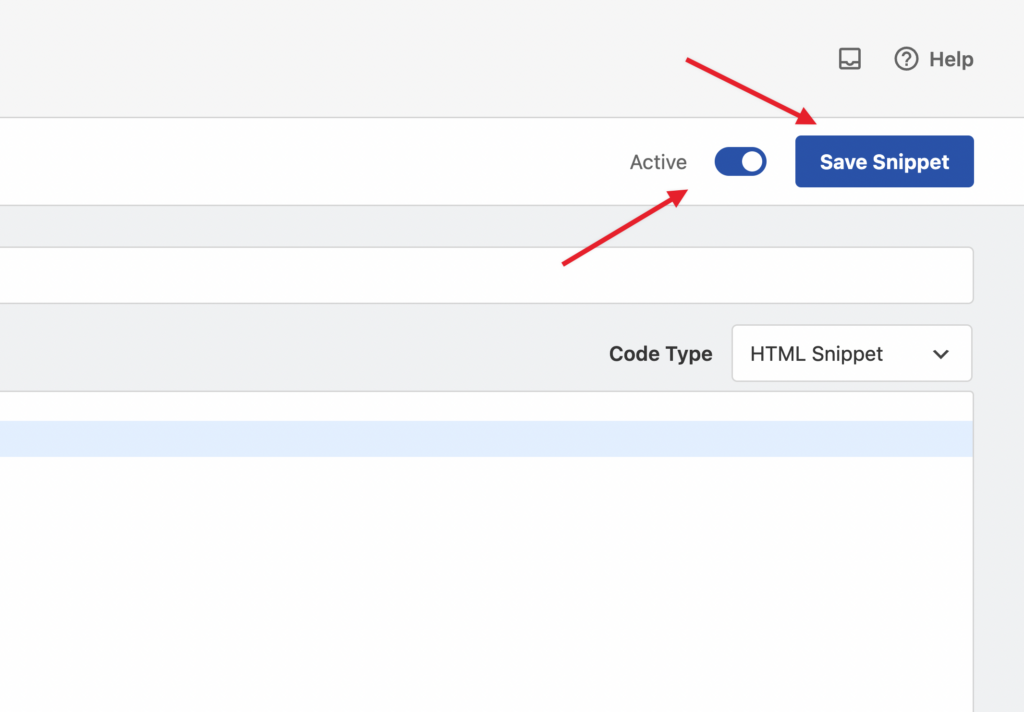
In the upper right corner of the page you have a toggle to set the snippet status and a button to save or update the snippet.
Once you save a snippet as active, it will start being added automatically (if that’s what you selected) or displayed as a shortcode.
Marking a snippet as inactive will also disable the shortcode for it, so if you want to adjust a snippet you don’t have to remove the shortcode while you make changes. Simply disable it and it will no longer output anything.
That’s it! Now you know how to add snippets with WPCode.
Future-proof your website with WPCode Snippets and improve the way you manage code across all your websites.
Copyright © 2026 WPCode. WPCode® is a registered trademark of WPCode, LLC

The WordPress® trademark is the intellectual property of the WordPress Foundation. Uses of the WordPress®, names in this website are for identification purposes only and do not imply an endorsement by WordPress Foundation. WPCode is not endorsed or owned by, or affiliated with, the WordPress Foundation.