
Documentation, Reference Materials, and Tutorials for WPCode
Would you like a snippet to run only on single posts, only inside your WordPress dashboard, or only partway through an article? WPCode calls that choice the snippet’s location, and the paid version offers 65 of them. All you need is WPCode and a snippet to work with.
In this guide, we’ll walk you through picking a location for a snippet and cover every location WPCode provides.
Requirements: The Anywhere, Content, and eCommerce location groups come with the paid version of WPCode.
Before you get started, make sure WPCode is installed and activated on your WordPress site.
A location is the point in a page where WPCode drops your snippet. Once you set a location, the snippet runs there on its own every time that point is reached. That is what WPCode means by Auto Insert.
The alternative is Shortcode. In that mode, WPCode never places the snippet for you. It runs only where you paste its shortcode.
Each snippet holds a single location. It is either auto inserted there or driven by a shortcode, never both. If you need the same code in two places, add a second snippet.
WPCode sorts its locations into three categories, which you’ll see as a rail down the left side of the picker:
One more thing shapes the list: the snippet’s code type. The five locations under PHP Snippets Only accept PHP snippets alone.
On any other code type, those five appear greyed out. WPCode also moves that group to the bottom of the list. Every other group works with any code type.
To get started, we’ll build a short HTML notice and set it to appear at the end of every post.
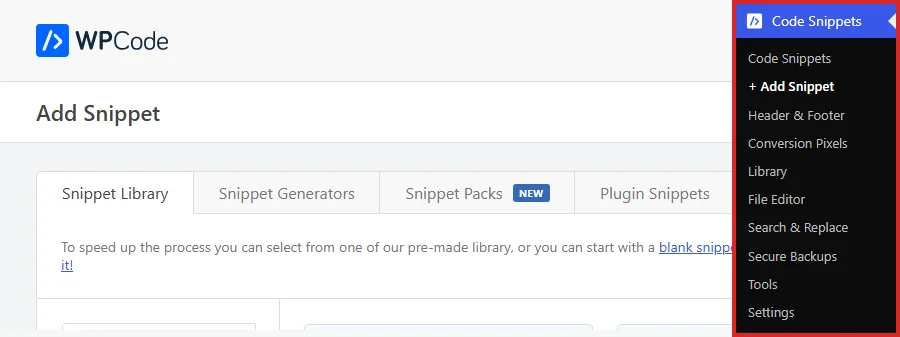
From your WordPress admin sidebar, go to Code Snippets » + Add Snippet.
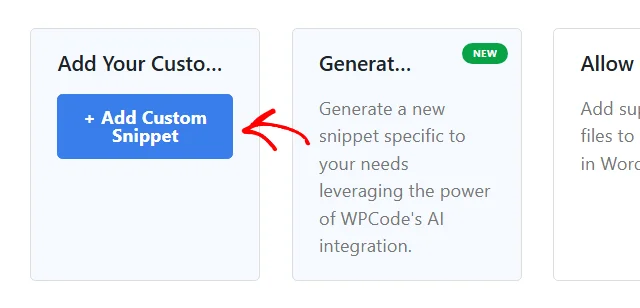
On the Snippet Library tab, hover over the Add Your Custom Code card. Then click + Add Custom Snippet.
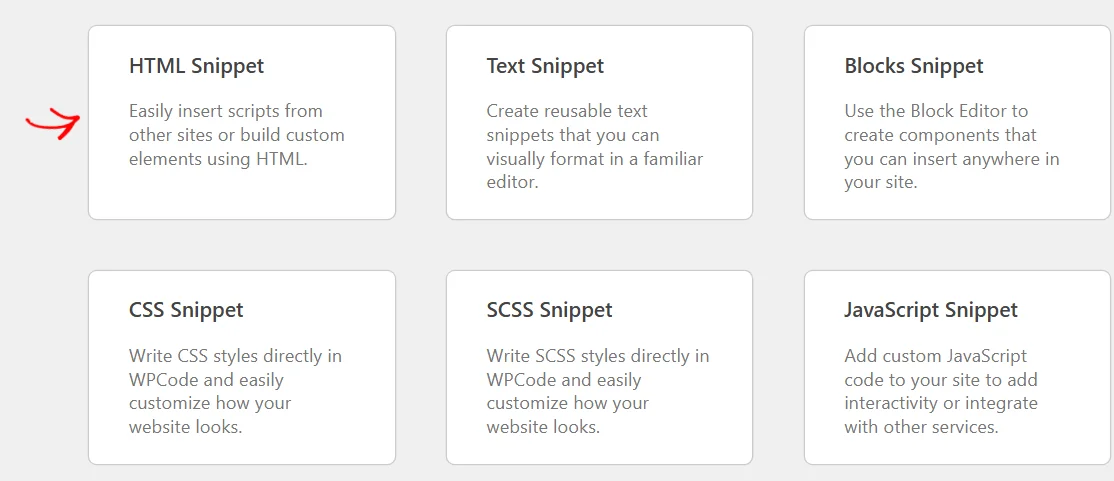
WPCode asks which kind of snippet you’re building. For this example, click HTML Snippet.
Note: Not sure which type fits your code? Our guide on what type of snippet you need walks through all eight options.
Add your code. Then scroll down to the Insertion panel.
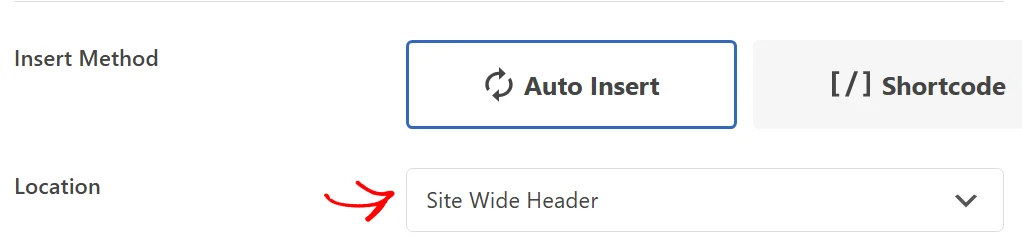
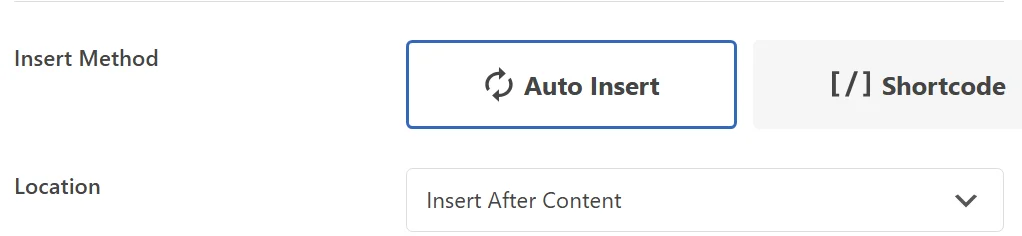
Insert Method arrives set to Auto Insert. The Location control below it shows the current choice. To open the picker, click Location.
The picker opens underneath. On the left is a search box and the three category names, with Global selected. On the right are the locations in that category, grouped and described.
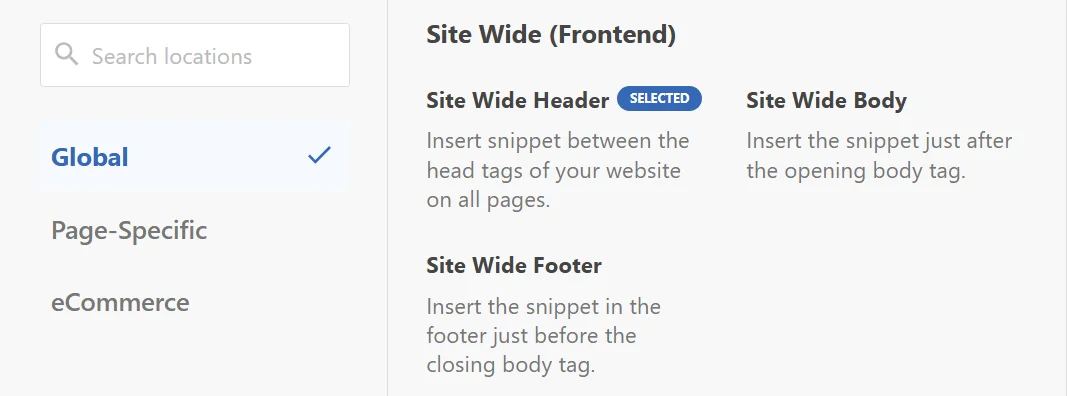
Our notice belongs on single posts, so in the rail on the left, click Page-Specific.
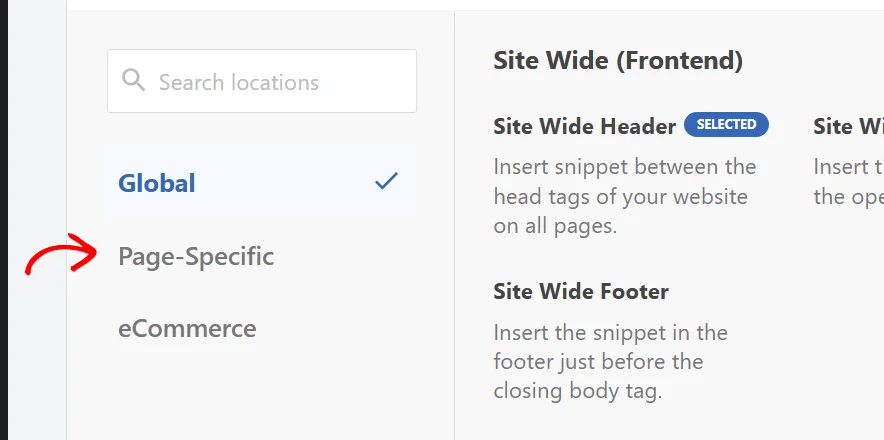
Note: With 65 locations to move through, the quickest route is often the Search locations box above the category names. Typing part of a location name filters the list as you go.
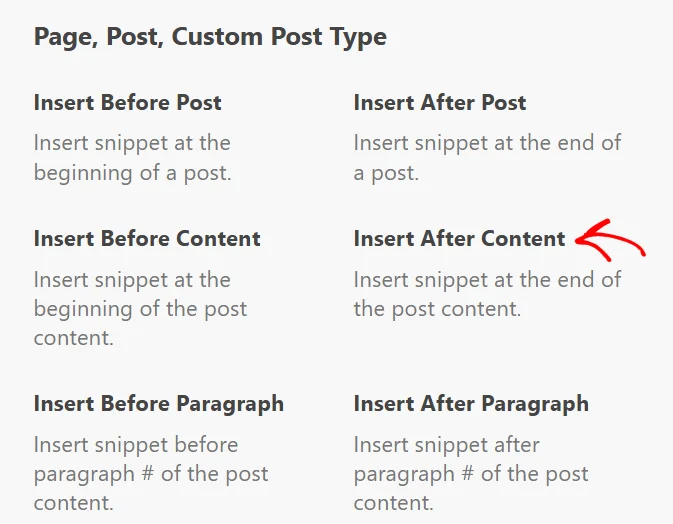
The list now shows the page-specific groups. Under Page, Post, Custom Post Type, click Insert After Content.
The picker closes and the Location control carries your choice.
Back at the top of the screen, click Save Snippet. Switch the snippet to Active whenever you’re ready for it to run.
That flow is the same whichever location you choose. The rest of this guide covers every location WPCode offers, grouped the way the picker groups them. That way, you know which one suits your own snippet.
Global locations aren’t tied to any single post. They cover the four groups below.
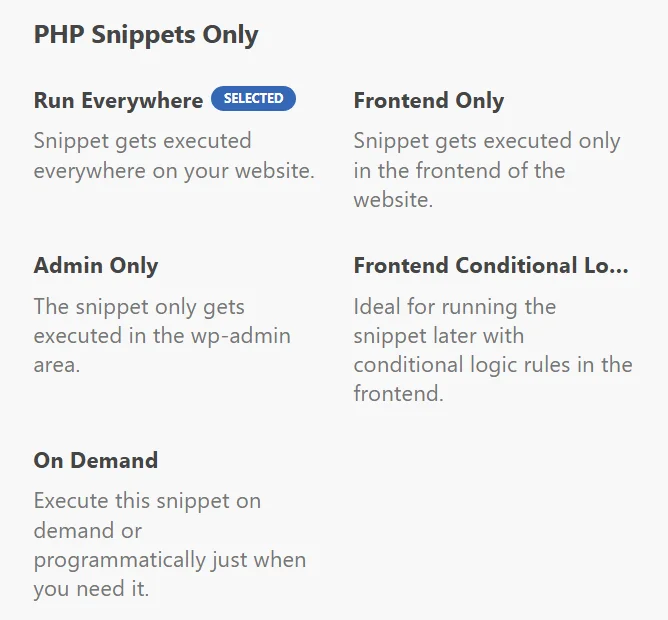
These five run earlier than anything else and can be selected on PHP snippets alone. They hook in before the page starts rendering. That is what you want for registering a post type, adding a filter, or anything else that has to be in place early.
The three classic script positions, available to any code type. These are the right home for analytics tags, verification codes, and anything else that belongs on every page of the public site.
Two positions inside WordPress itself, for code meant for you and your team rather than your visitors.
The Anywhere group aims at an HTML element you name with a CSS selector. This lets you reach spots your theme never gave you a hook for. Choosing one of these five adds a CSS Selector field to the panel.
Note: Our guide on using CSS selectors covers how to write the selector these locations need.
Page-specific locations attach the snippet to post content. They run on single posts and pages, or on the listings that show posts.
Six positions on a single post, page, or custom post type. This is the group we used in the walkthrough above. It’s the usual home for a call to action, a byline, or an inline ad.
Five positions on listing pages, where WordPress shows several posts at once rather than one. That covers your category, tag, and date archives as well as your blog page. A snippet here never appears on a single post, which is what the group above is for.
Eight positions measured against the length of the post, rather than against a fixed element. They suit long articles, where a third of the way in is more useful than a paragraph number that shifts every time you edit.
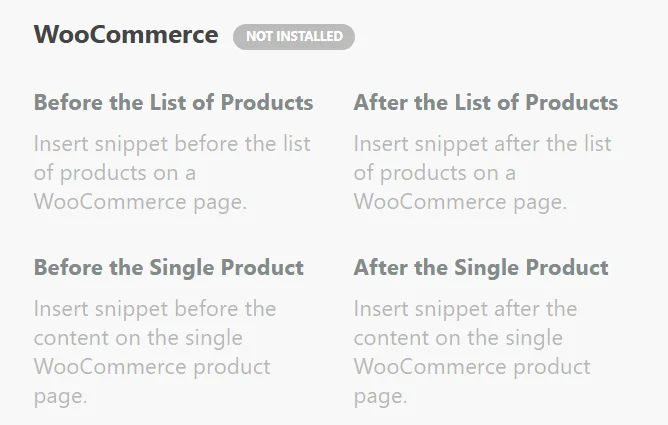
The eCommerce category holds 31 locations across three store plugins. WPCode always lists all three groups so you can see what’s on offer. It marks a group Not Installed when its plugin isn’t running on your site.
Once you install and activate the matching plugin, that group’s locations become selectable.
13 positions covering product lists, single products, the cart, the checkout, and the thank you page.
Ten positions covering purchase buttons, single downloads, the cart, and the checkout.
Eight positions covering registration, checkout, the account page, the login form, and unauthorized messages.
Most locations describe a spot precisely enough on their own. A handful need one more detail from you. WPCode adds the field to the Insertion panel as soon as you pick the location.
Six locations count something and need to know how far to count: Insert Before Paragraph, Insert After Paragraph, Before Post, After Post, Insert After # Words, and Insert Every # Words. The field’s label changes to match the location. Here it reads “after paragraph number.”

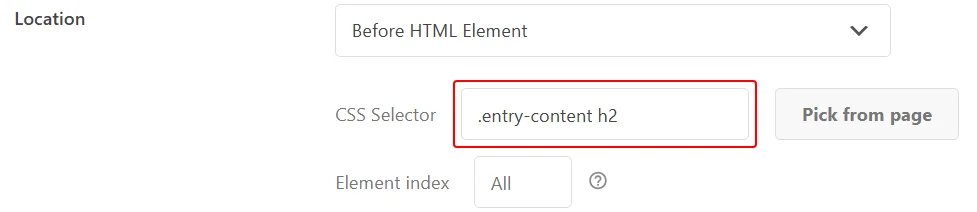
All five Anywhere locations ask which element to target. To do this, type the selector into CSS Selector if you already know it.
Next to that field sits Pick from page. It opens your live site in a new browser tab with a picker bar across the top. You can click the element itself and let WPCode fill the selector in for you.
Underneath sits Element index, which decides what happens when the selector matches more than one element. Leave it blank, where it reads All, to target every match. Enter an index to target a single one.
On Demand is the one location that never fires by itself. The Active toggle at the top of the editor makes no sense for it, so WPCode hides it. In its place, you get Execute Snippet Now, which saves the snippet and runs it once.
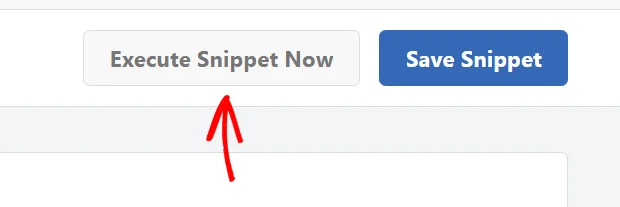
WPCode reloads the editor afterwards with a notice reading “Snippet updated & executed.”, which is how you know the run happened.
You can also run the snippet from your own code with wpcode_get_snippet( $id )->execute();. That is what makes On Demand useful for tasks you want to fire on a schedule or from another plugin.
Note: Our guide on running code snippets on demand goes further into this location.
That’s it! You now know what every WPCode location does and how to point a snippet at the one you need.
Next, take a look at our guide on using smart conditional logic, which narrows a location down further by page, user, or date.
Below, we’ve answered some of the most common questions about WPCode snippet locations.
No. Each snippet stores a single location. To place the same code in two spots, create a second snippet. You can also set Insert Method to Shortcode and paste the shortcode wherever you need it.
Those five locations run before the page renders, which only PHP snippets can do. On any other code type, WPCode disables them and moves the group to the bottom of the list. Switch the snippet’s code type to PHP and they become selectable.
WPCode lists the store groups whether or not the matching plugin is running, so you can see what each one offers. The locations become selectable once that plugin is installed and activated on your site.
On a PHP snippet set to Run Everywhere, turning on Smart Conditional Logic switches the location to Frontend Conditional Logic. WPCode tells you when it makes that change. Run Everywhere fires before WordPress knows which page it is about to show, so many rules cannot be evaluated yet. The later location gives them a full picture.
You can switch back to Run Everywhere if you need the snippet to run early. Fewer conditional logic options will be available. Our guide on conditional logic with PHP snippets covers this in detail.
No. Switching Insert Method to Shortcode takes the location out of the picture entirely. The snippet runs wherever the shortcode is placed. Our guide on shortcode attributes covers that mode.
To narrow the list fast, use the Search locations box at the top of the picker’s left rail. It filters the list as you type and searches group names as well as location names. Typing “cart” brings up the cart positions from both the WooCommerce and Easy Digital Downloads groups at once, whichever category you started in.
Future-proof your website with WPCode Snippets and improve the way you manage code across all your websites.
Copyright © 2026 WPCode. WPCode® is a registered trademark of WPCode, LLC


The WordPress® trademark is the intellectual property of the WordPress Foundation. Uses of the WordPress®, names in this website are for identification purposes only and do not imply an endorsement by WordPress Foundation. WPCode is not endorsed or owned by, or affiliated with, the WordPress Foundation.