Copyright © 2026 WPCode. WPCode® is a registered trademark of WPCode, LLC
Documentation, Reference Materials, and Tutorials for WPCode
Getting started with the WPCode plugin is easy to do in just a few clicks. Please follow the guide below as we walk you through the steps needed to install WPCode.
First, you’ll need to download the WPCode plugin.

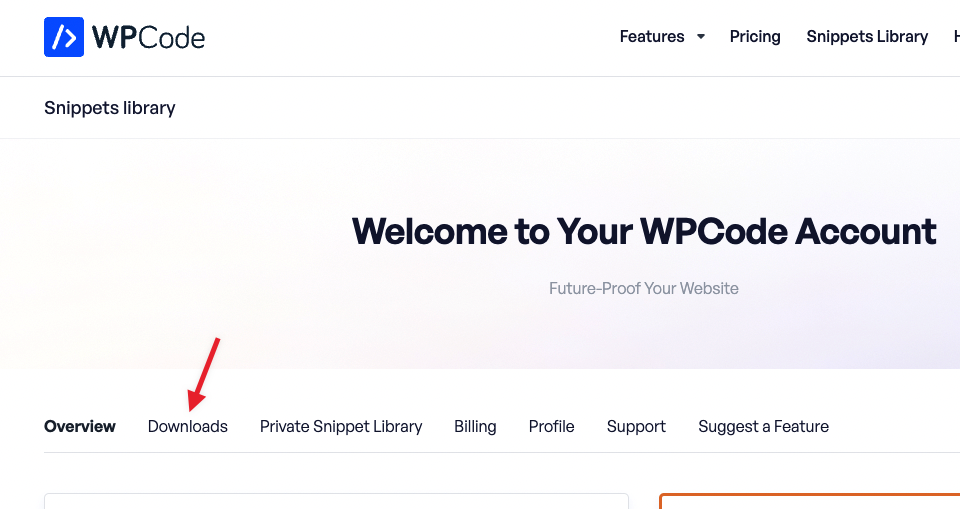
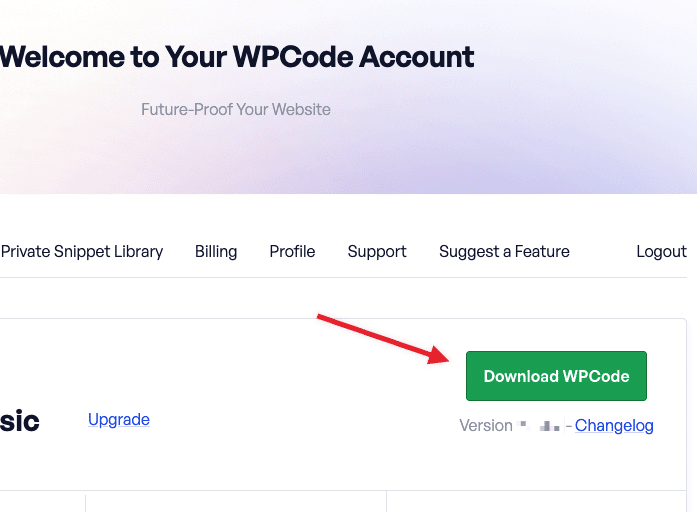
After you downloaded the file with the WPCode plugin, you can navigate to the site where you want to install WPCode and login to the WordPress admin area (wp-admin).
Once there, navigate to Plugins » Add New and click the Upload Plugin button at the top.

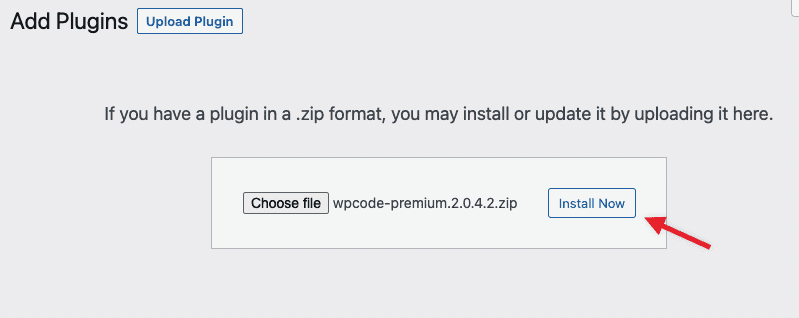
Clicking that button will open an upload form where you can click the Choose file button to select the zip file you downloaded from the WPCode account.
Once you selected the WPCode archive, click the Install Now button to upload the file and install WPCode on your site.
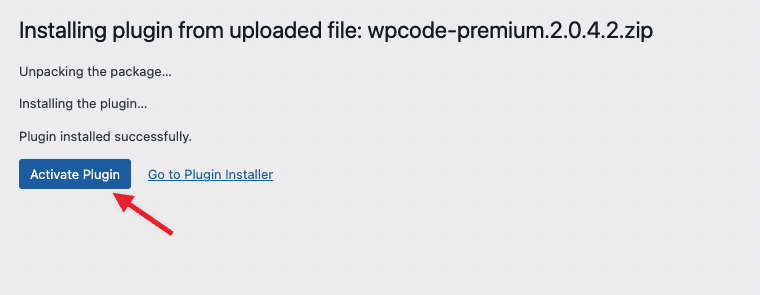
On the next screen, once the plugin has been uploaded and installed, click the Activate Plugin button to start running WPCode on your site.
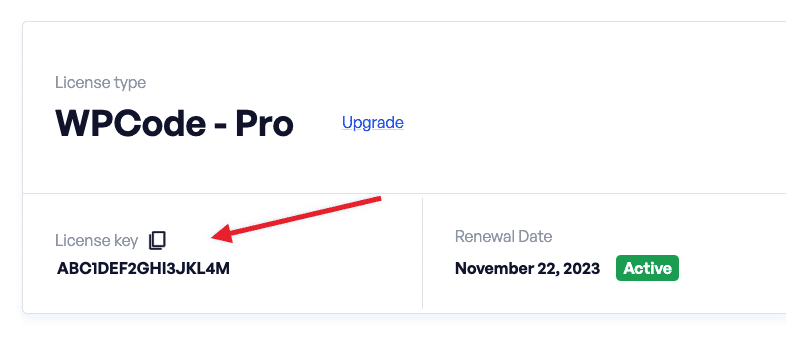
The last step you’ll need to do is add you license key. Your license key can be found on the same downloads page where you downloaded the plugin from the account area.
Back in your site’s WordPress admin, you can navigate to Code Snippets » Settings to enter your license key, and then click the Verify Key button.

You’re all set! Now the plugin is set up and can also receive updates using your license.
Future-proof your website with WPCode Snippets and improve the way you manage code across all your websites.