
Maintaining a WordPress website requires regular updates, design changes, and occasional troubleshooting. One morning, while updating my WordPress website, I noticed users were seeing broken pages and error messages. That’s when I learned the hard way about the importance of maintenance mode.
Maintenance mode creates a temporary landing page that tells visitors your site is being updated. Instead of showing visitors a broken site, they’ll see a professional message explaining the temporary downtime.
Now, most beginners think that adding maintenance mode to WordPress requires editing. That’s not the case. With the right plugins, you can easily enable it and show that your site will be back up soon.
In this article, I’ll show you how to enable maintenance mode in WordPress using different methods.
Why Enable Maintenance Mode in WordPress?
Think of maintenance mode like a virtual construction barrier. Just as you wouldn’t want people walking through an active construction site, you don’t want visitors interacting with your website while you’re making changes.
That’s because when visitors land on a broken website, they often leave and never return.
A well-configured maintenance mode keeps your visitors informed and maintains your site’s professional image. It also prevents your search engine rankings from dropping due to technical errors during updates.
Using maintenance mode is especially helpful when you’re making major changes to your site, like switching themes, installing new plugins, updating your WordPress core files, moving to a new host, running database updates, or troubleshooting site-wide issues.
Now, you can put the entire site in maintenance mode. This completely blocks access to your website, except for logged-in administrators, and is useful when making major changes that could break site functionality. On the other hand, you can allow visitors to access certain parts of your site while others are under maintenance. For example, keeping your blog accessible while updating your shop pages.
With that, let’s look at different ways to set up maintenance mode in WordPress. You can use WPCode to enter a simple code snippet and show that your site is under maintenance. Or you can use SeedProd to create a custom maintenance mode landing page. To jump ahead to any section, simply click the links below:
Method 1: Enable Maintenance Mode Using WPCode
If you want to show a simple maintenance mode message on your WordPress site, then WPCode is the best option. It is the best code snippet plugin for WordPress that helps you manage and organize snippets on your site.
With WPCode, you get a built-in snippet library from verified experts. This allows you to add custom functionality and features to your site in just a few clicks. Besides that, you can also use WPCode to add custom PHP, CSS, HTML, JavaScript, and other types of codes in WordPress.
For this tutorial, I will use the WPCode Lite version, which is available for free. There is also a WPCode Pro version that offers more features like code revisions, AI snippet generator, eCommerce integrations, and more.
Next, you’ll need to go to Plugins » Add New Plugin from the WordPress admin panel and search for ‘WPCode’ in the search bar.
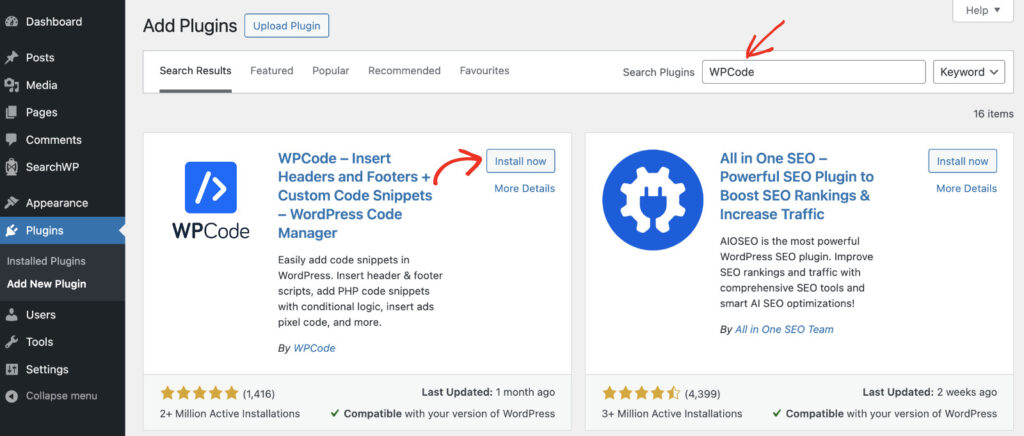
From here, simply click the ‘Install now’ button and activate the plugin. If you need help with this, then please follow this guide on how to install a WordPress plugin.
Once the plugin is active and ready to use, you can go ahead and add a custom snippet to enable maintenance mode.
To get started, simply go to the Code Snippets » Add Snippet page from the WordPress dashboard. Next, you can search for the ‘Maintenance Mode’ code snippet or head to the Most Popular tab.
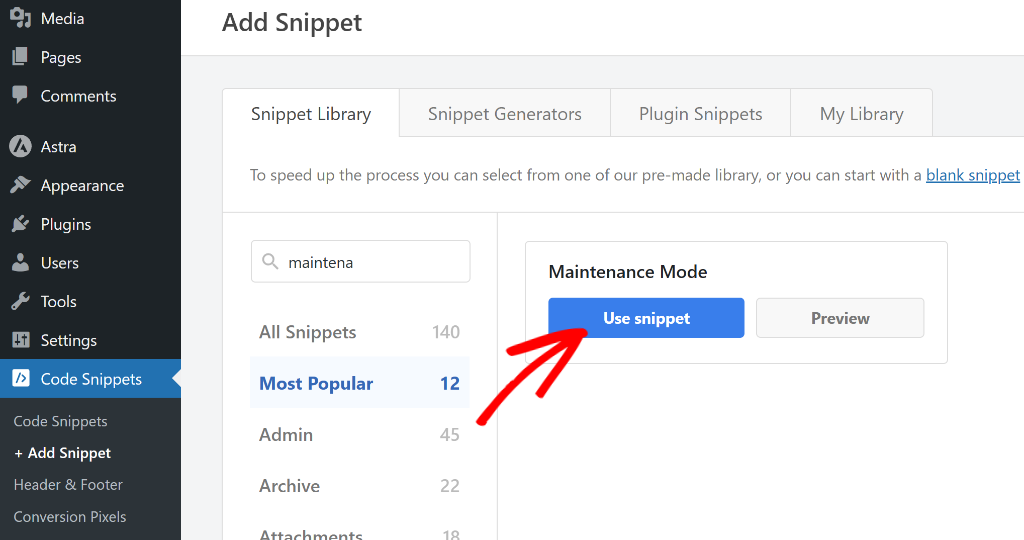
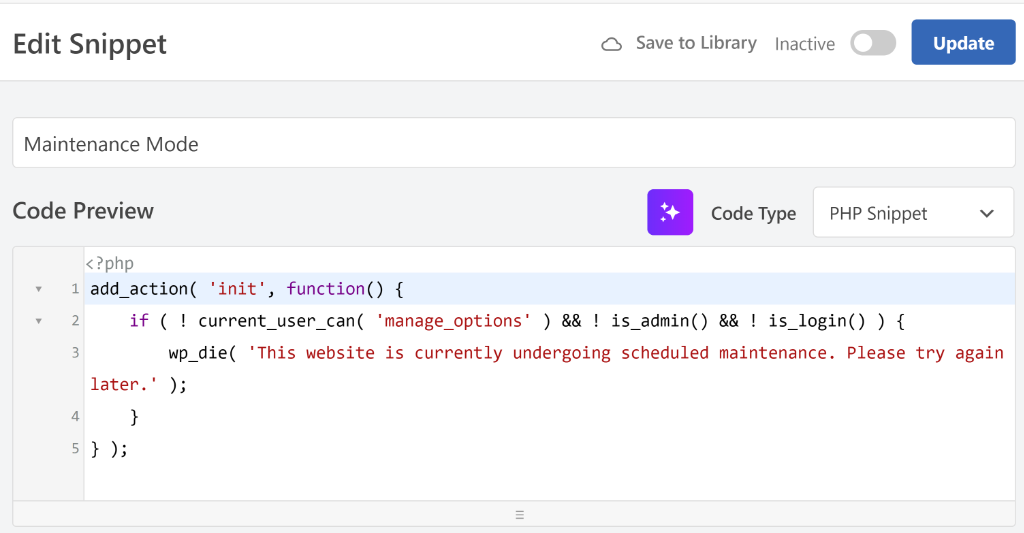
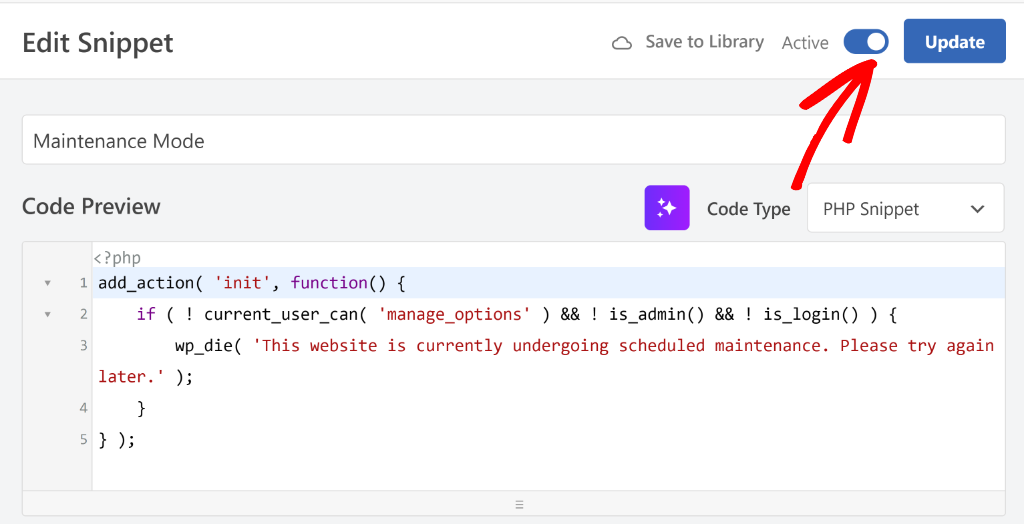
On the next screen, you’ll see the code snippet preloaded in the code editor.
In the snippet, the default text will be already written that users will see on your site under maintenance mode. However, if you want, you can edit the text in the snippet to anything you like.
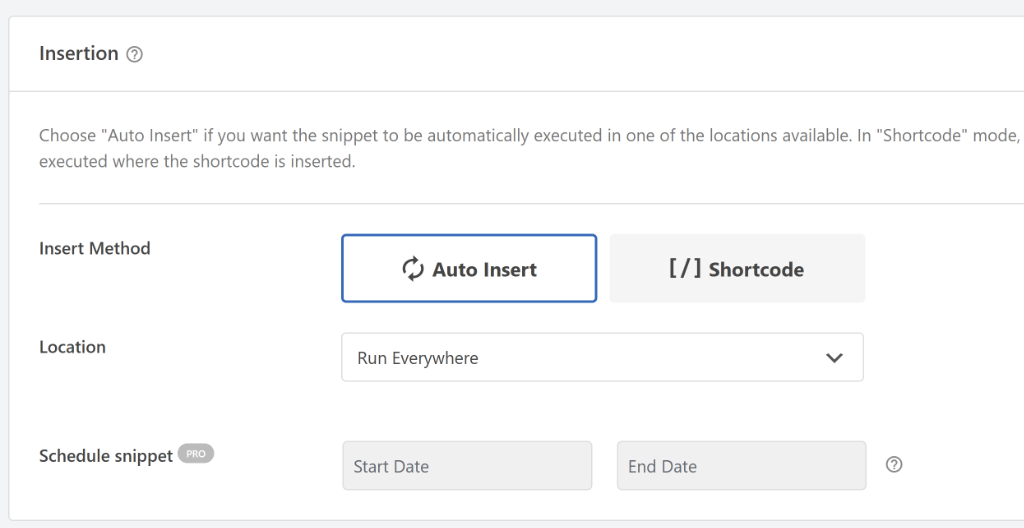
After that, you can scroll down to the Insertion section. Here, you can select where the code will run on your site.
I recommend using the default settings that WPCode will have for this snippet. For instance, it will Auto Insert the code and run everywhere on your site.
When you’re done, simply scroll to the top and click the toggle to make the snippet Active.
Don’t forget to click the ‘Update’ button as well.
That’s it! You’ve successfully enabled maintenance mode on your site.
Now, whenever visitors land on your website, they’ll see a message that the website is currently undergoing scheduled maintenance.

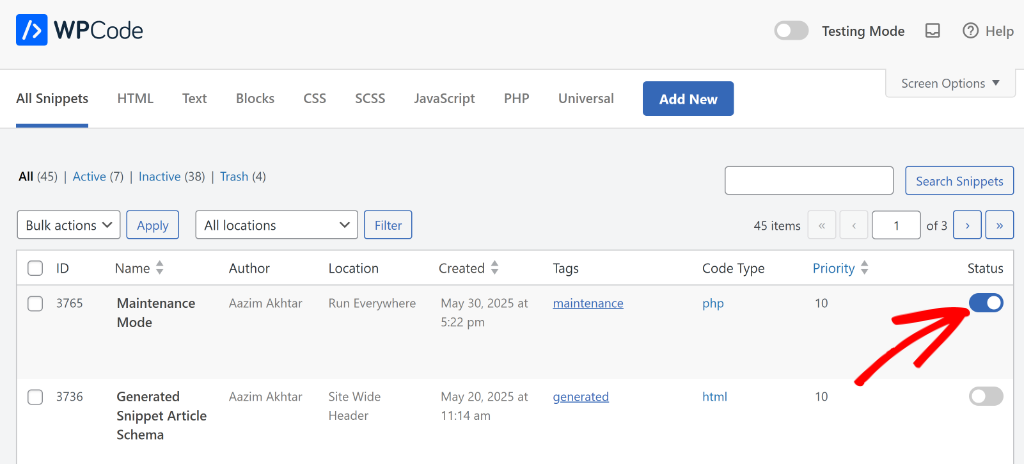
When you’re done with fixing your website or updating plugins or themes, you can disable the maintenance mode.
To do that, simply head back to the Code Snippets page from your WordPress dashboard and navigate to Maintenance Mode. From here, click the toggle under the Status column to deactivate the snippet.
Method 2: Enable Maintenance Mode Using SeedProd
If you’re looking to create a custom maintenance mode page, then you can use SeedProd. It is the best WordPress website and landing page builder.
SeedProd comes with pre-built maintenance mode page templates, a drag and drop builder, and lots of customization options. Plus, it is super easy to use, so you can create custom pages without editing code.
For this tutorial, we’ll use the SeedProd Lite version, as it includes maintenance mode page templates and basic customization options. However, if you’re looking for more options to edit the landing page and unlock more templates, then you can use the SeedProd Pro version.
First, you’ll need to go to Plugins » Add New Plugin from the WordPress admin panel and search for ‘SeedProd’ in the search bar.
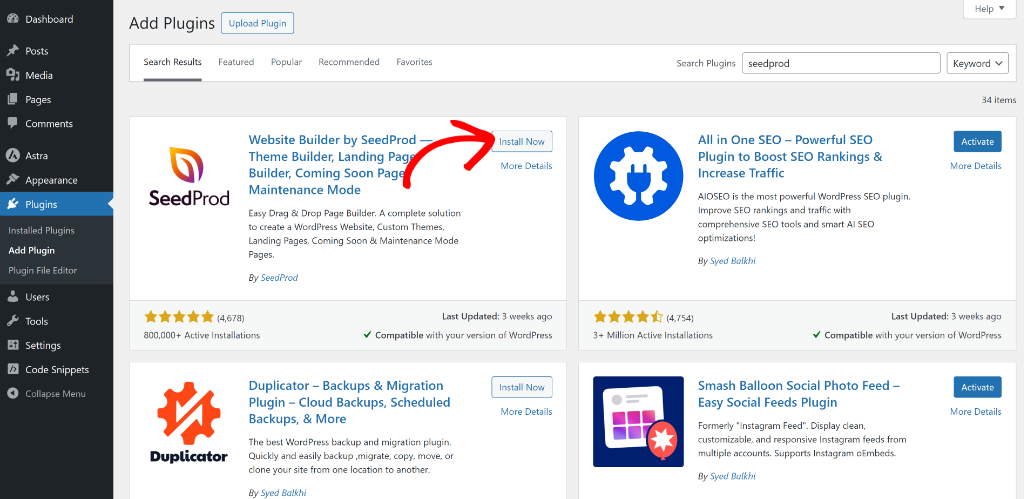
After that, you can click the ‘Install now’ button and activate the plugin. If you need help with this, then please follow this guide on how to install a WordPress plugin.
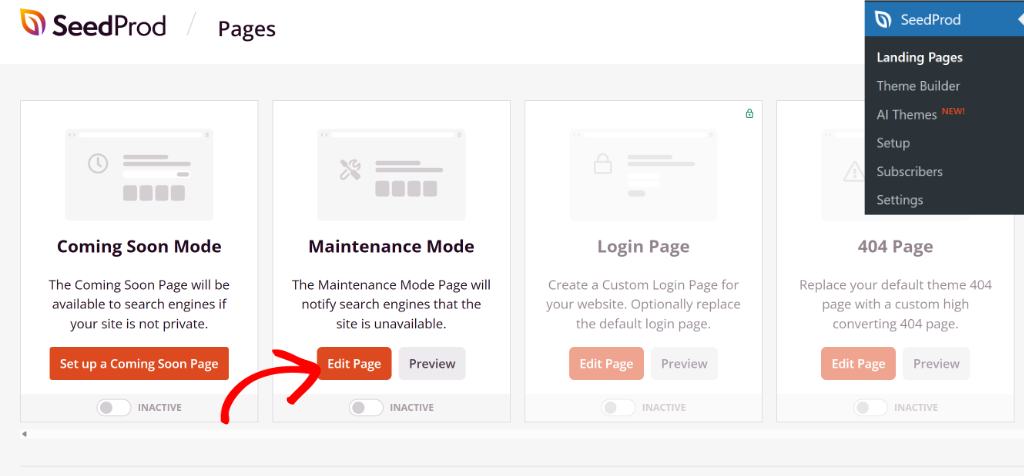
Once the plugin is active, you can go to SeedProd » Landing Pages from the WordPress dashboard. From here, simply click the ‘Edit Page’ button under Maintenance Mode.
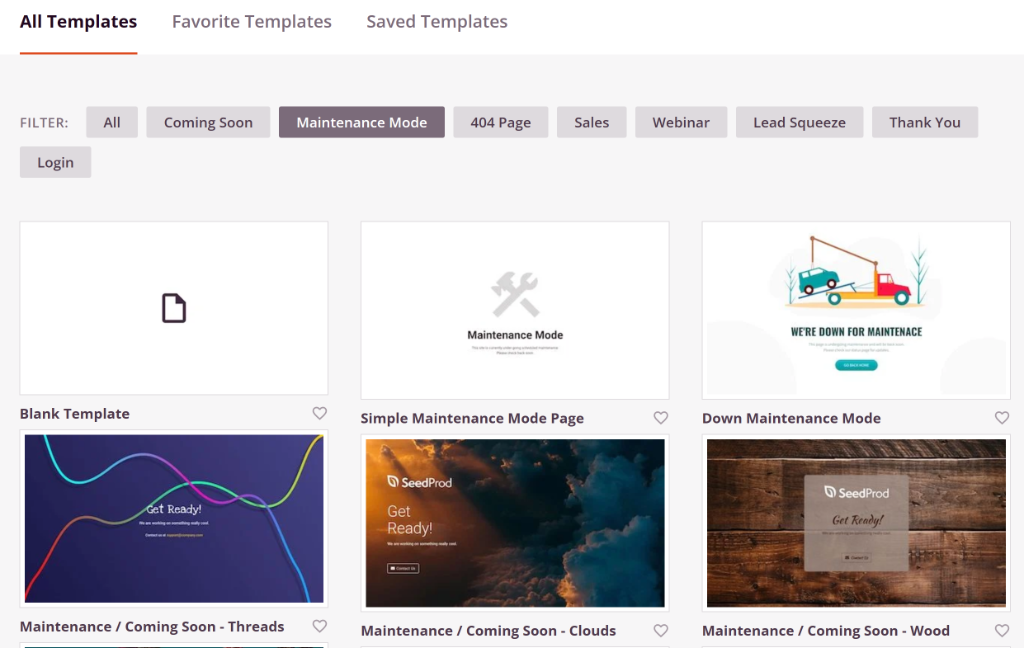
Next, you will need to select a template for your maintenance page. SeedProd comes with multiple templates that you can use and quickly customize.
There is also an option at the top to filter pages. For instance, you can select ‘Maintenance Mode’ to narrow down the templates and quickly select one.
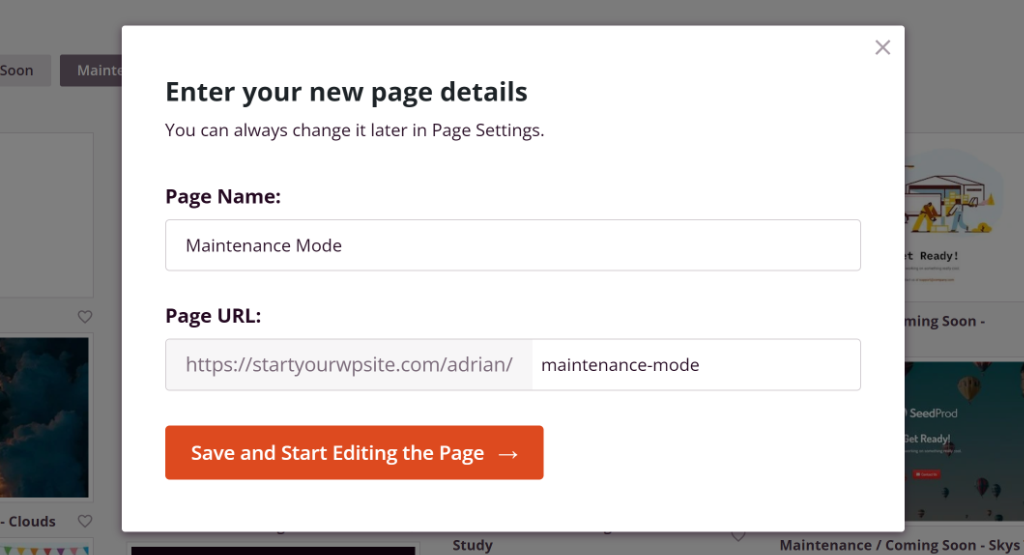
Once you click on a template, a small window will open where you can enter the name of the page.
After that’s done, simply click the Save and Start Editing the Page button.
On the next screen, you will see your chosen template in the SeedProd page builder.
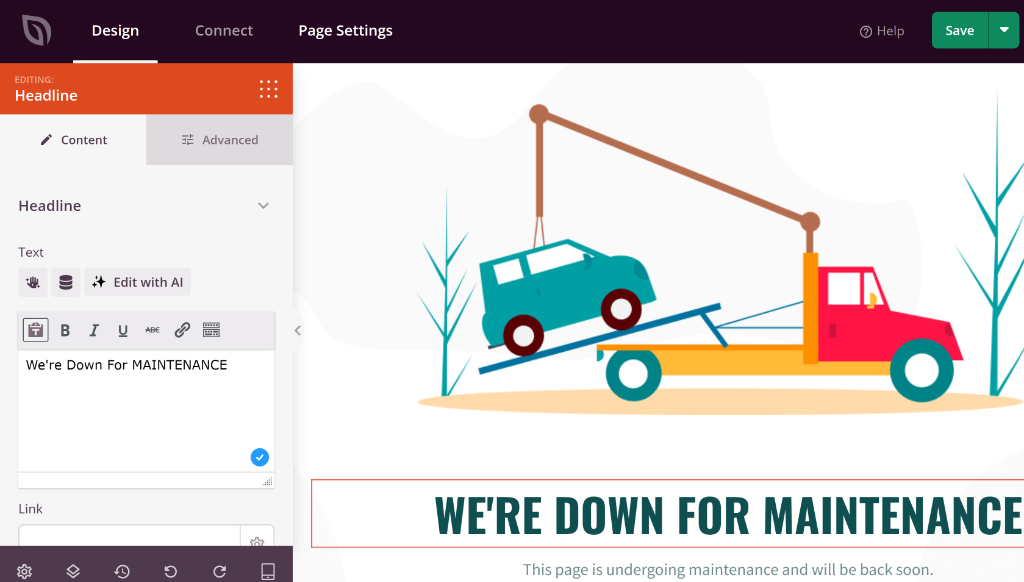
Here, you can customize the page by dragging and dropping different blocks. For example, you can add blocks for text, headlines, lists, videos, images, and more from the menu on the left.
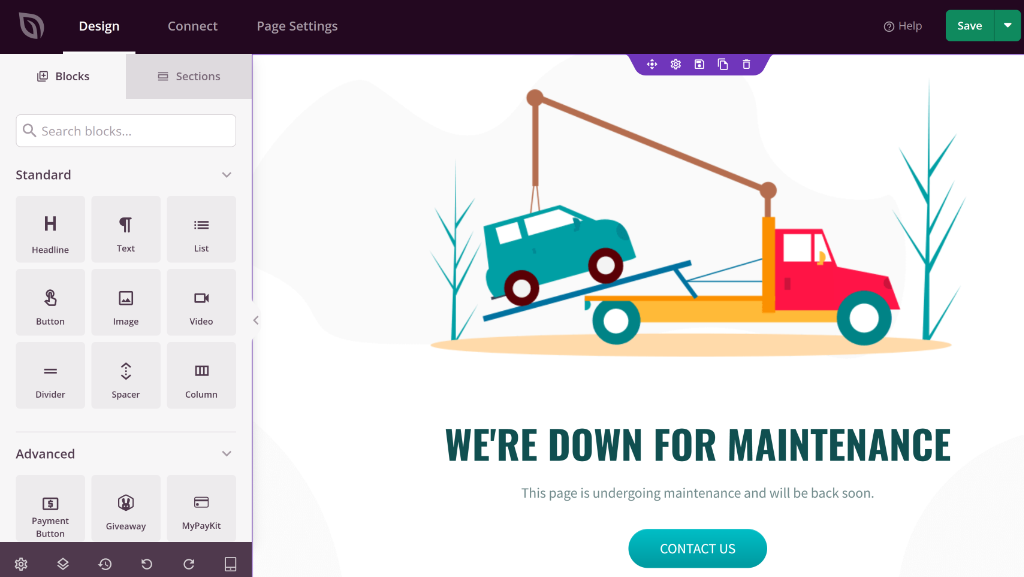
Besides that, SeedProd also lets you edit the existing blocks and elements on the page template.
For example, you can change the text that’s written, edit its font, color, alignment, and more.
After you’re done customizing the maintenance mode page, you can switch to the ‘Page Settings’ tab.
From here, simply change the Page Status from Draft to Publish.
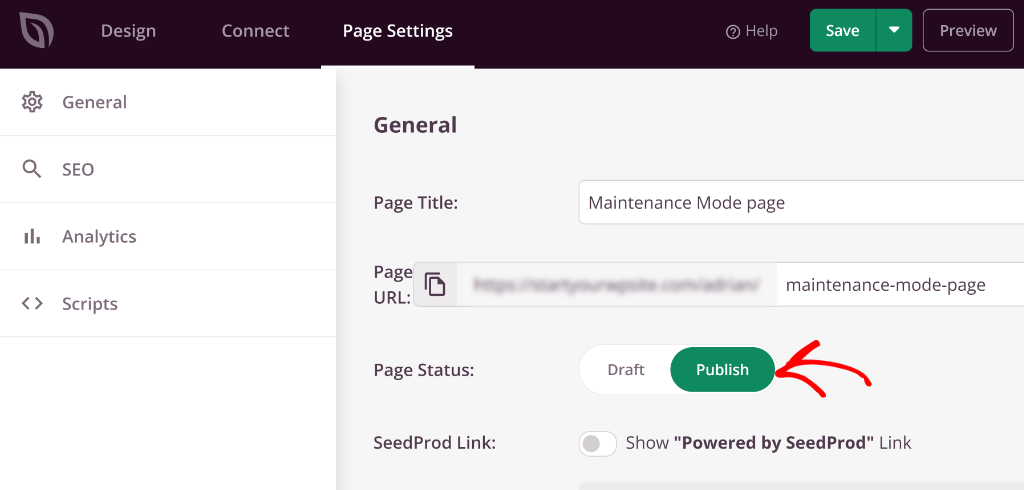
Don’t forget to click the Save button at the top to store your changes.
Next, you can exit the page builder and head to SeedProd » Landing Pages from the admin panel.
After that, click the toggle under Maintenance Mode to make the page Active.
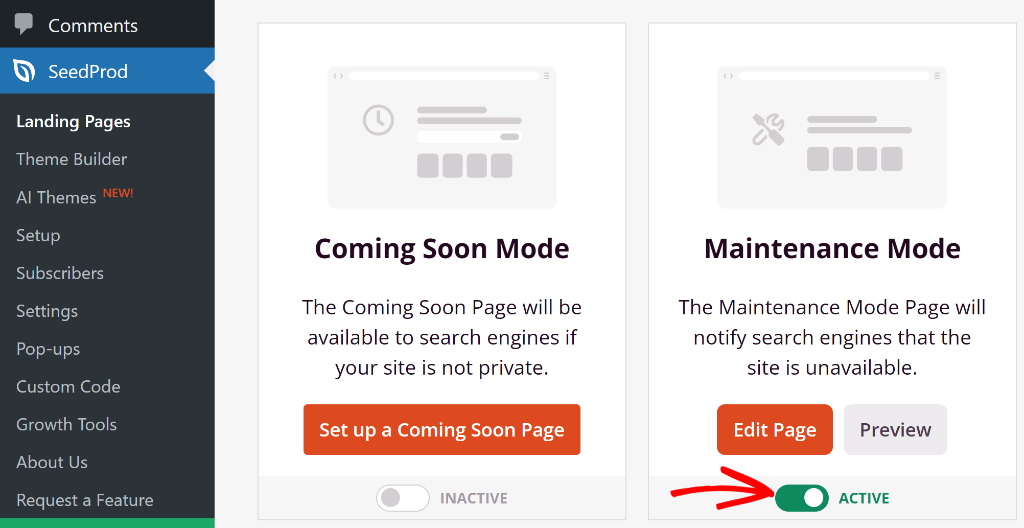
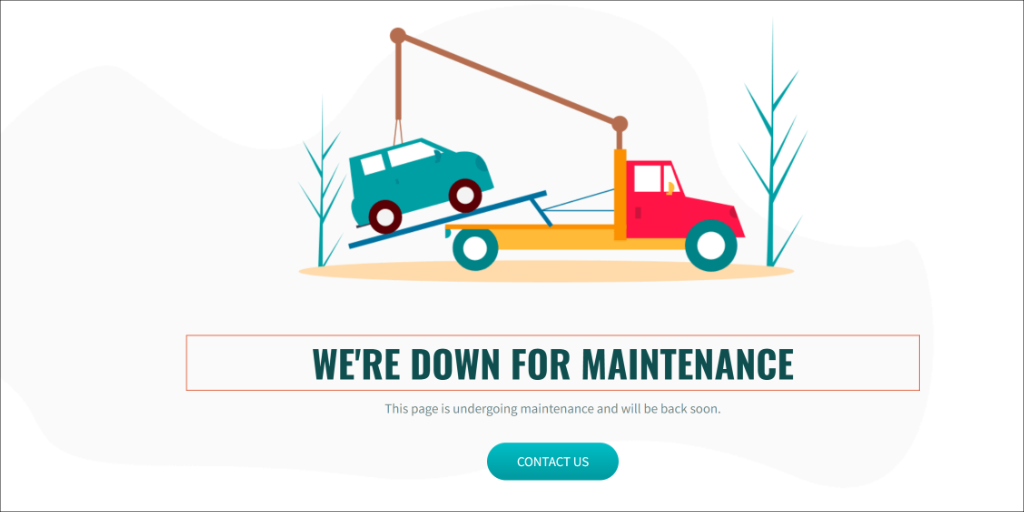
That’s it! Maintenance mode will now be active on your site.
When your visitors will open your website, they’ll see the custom landing page you just created.
To disable maintenance page, you can simply click the toggle under Maintenance Mode in SeedProd.
I hope this article helped you learn how to enable maintenance mode in WordPress. You may also want to see our guide on how to import and export code snippets in your WordPress website and how to disable auto linking of URLs in WordPress comments.
If you need help, then feel free to leave a comment below. And don’t forget to follow us on X (formerly known as Twitter) and subscribe to our newsletter for all the latest updates.

