Conversion pixels are essential in optimizing your ads campaign regardless of which platform you use. Without properly implementing conversion pixels on your site, you are basically shooting in the dark.
That’s why it’s very important that you implement conversion pixels correctly and WPCode is the perfect solution to do just that. In this article we are going to present 2 approaches that you can use to implement conversion pixels in your site using WPCode.
Understanding Conversion Pixels and WPCode
Before we delve into the details, let’s quickly cover what conversion pixels are. A conversion pixel, also known as a tracking pixel or pixel tag is essentially a small piece of code that is placed on a website to track user behavior.
This means that when a user visits your site, the pixel is triggered and sends back information to your ad server. This could be as simple as reporting a page visit or tracking a completed action such as filling out a form, making a purchase or any other action that you define as a conversion.
What this means is that when the ad platform is able to match back your website visitor to a user that clicked one of your paid ads it can accurately attribute the conversion to your specific ad and thus enabling you to optimize your ads for the best results and spend less for better results.
WPCode enables you to add Conversion Pixels to your site easily and without having to edit any files on your server or handle uploads – you can manage your pixels from the WordPress admin without having to get help from a developer.
Next, let’s look at the 2 approaches available for using WPCode to add conversion pixels to your site.
Option 1: WPCode Conversion Pixels Addon
The first method we present is the WPCode Conversion Pixels addon. This addon streamlines conversion pixel implementation by automatically placing the pixel code in the right places on your website so that you not only track visits but also accurately track conversions for popular eCommerce platforms like WooCommerce, Easy Digital Downloads and MemberPress.
Using the Conversion Pixels addon also enables you to add custom click event tracking in a friendly interface without having to add custom code so that you can track all types of conversions.

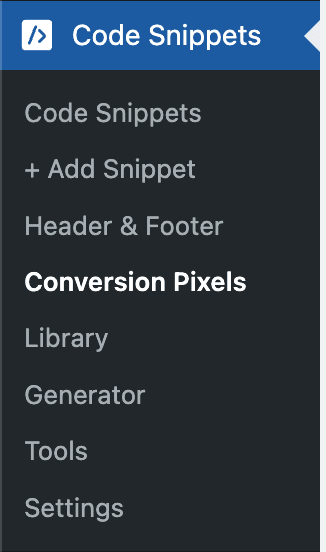
The first step in getting started with the Conversion Pixels addon is making sure it’s installed & activated. This is as easy as going to the Conversion Pixels submenu. From there, you can 1-click install and activate the Conversion Pixels addon.
Please note: The Conversion Pixels addon is available for Plus and higher plans of WPCode.
Once the addon is activated, getting started is as easy as copy-pasting your Pixel ID specific to the platform you are using. At the moment, the WPCode Conversion Pixels addon supports 5 major platforms: Facebook (Meta), Google Ads, Pinterest, TikTok, and Snapchat. Specific instructions for how to find your pixels id and API tokens can be found in this article.
With these details set up, WPCode will take care of automatically inserting the relevant code in the right places and track conversions.
What’s more, for most pixels you can also use the server API for tracking which means your events will be tracked with a higher level of precision due to our advanced integration with your eCommerce platform. This means conversions are tracked exactly at the right time and no longer depend on your visitor’s browser.
Option 2: Basic Tracking – Manually Adding the Pixel Code to the Header of All Pages

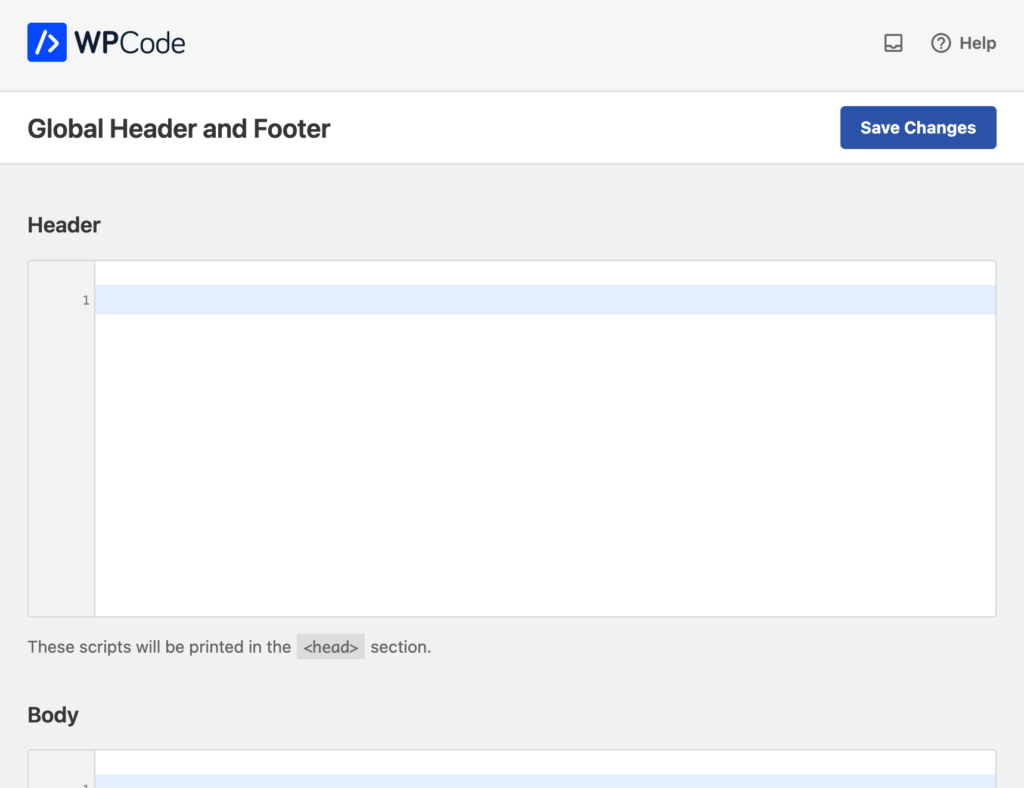
For those who prefer to roll up their sleeves and do things manually, WPCode also enables you to copy-paste your pixel code directly into the header of all your pages with ease. You can do that in two ways.
You can either add the code in the Global Header & Footer area of the WPCode plugin which adds the code to all the pages or set it up as a custom HTML snippet and assign it to the Site Wide Header auto-insert location.
Using the snippet approach enables you more control over where your code is loaded as you can take advantage of the Smart Conditional Logic options available in WPCode and you can also easily disable or enable the snippet to match your needs without having to delete the code and keep a copy somewhere else.
Comparing the Two Options
Adding basic tracking is easy using both approaches but tracking detailed conversions can be tricky with a manual implementation, especially if you use multiple platforms.
When you want to track conversions and eCommerce data, using the Conversion Pixels addon enables you to do that without having to touch any code so that you can focus on optimizing your campaigns. Furthermore, we feel that the API integrations available in the Conversion Pixels addon are essential for advanced tracking of eCommerce events and will take your reports to another level.
Implementing conversion pixels doesn’t have to be a daunting task. With WPCode, you can choose between an automated solution or a hands-on approach. Whichever approach you choose, WPCode is going to make it easier for you to get set up without having to edit files or maintain code manually as you update your site.


