

Understanding who visits your website is like having a roadmap for growing your business. Without visitor data, you’re making decisions based on guesswork rather than facts.
I learned this lesson the hard way when I spent months creating content that I thought my audience wanted. I had no idea which pages actually helped people, or from where visitors were leaving my site.
Google Analytics (GA) changed everything for me. This free tool from Google shows you exactly what happens on your website, which pages get the most visits, how long people stay, and where your traffic comes from.
The tricky part is setting it up correctly on WordPress. I’ve seen many beginners struggle with adding the tracking code, and accidentally break their websites trying to paste code in the wrong places. However, with the right plugin like WPCode, you can install the analytical tool without editing code.
In this article, I’ll show you how to add Google Analytics to WordPress using a free method.
Why Use Google Analytics on Your WordPress Site?
Your website generates valuable data every single day, but most WordPress users never see it. Every visitor click, page view, and interaction tells a story about what’s working and what isn’t.
I used to think my ‘About’ page was just a formality that nobody read. Then Google Analytics showed me it was actually my second most popular page. That insight completely changed how I structured my website navigation.
Google Analytics reveals which blog posts keep people reading for minutes, versus the ones where visitors bounce after seconds. You’ll discover whether people find you through Google searches, social media, or direct visits.
The data helps you make smarter decisions about everything from your content topics to your website design. Instead of wondering why your contact form isn’t getting submissions, you can see exactly where people drop off in the process.
Without this insight, you’re essentially running your website blindfolded. You might be creating amazing content that nobody finds, or spending time on pages that don’t actually help your visitors.
Google Analytics solves this problem by turning your website into a learning machine. Every visitor teaches you something new about what works and what doesn’t.
That said, let’s look at how you can add Google Analytics to WordPress. You can click the links below to jump ahead to any section.
Sign Up for a Google Analytics Account
Before you can track visitors on your WordPress site, you need to set up your Google Analytics account.
First, you will need to visit the Google Analytics website and click the ‘Get started today’ button.

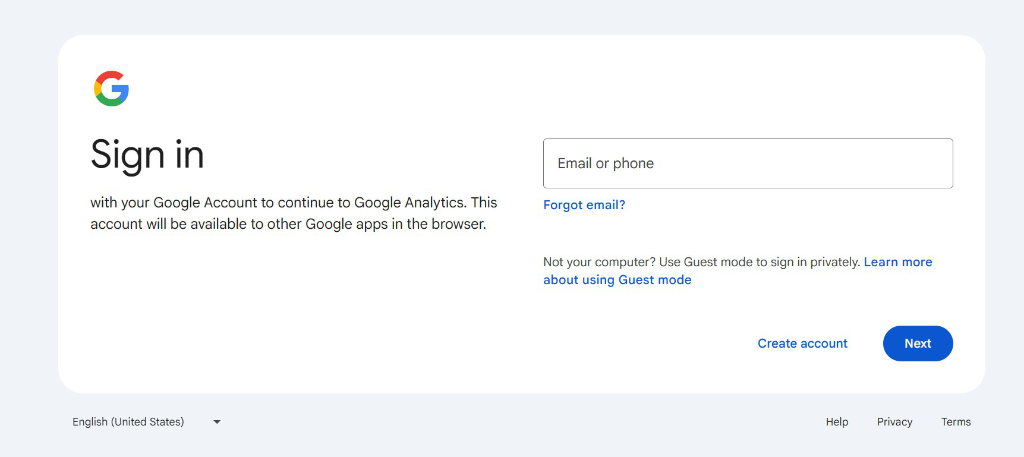
On the next screen, you’ll need to log in to your Google account.
Simply enter your Gmail or Google email address to sign in. If you don’t have a Google account, then you can create one.
Once you sign in, you’ll see a welcome screen.
Go ahead and click the ‘Start measuring’ button.

Create a Google Analytics Property
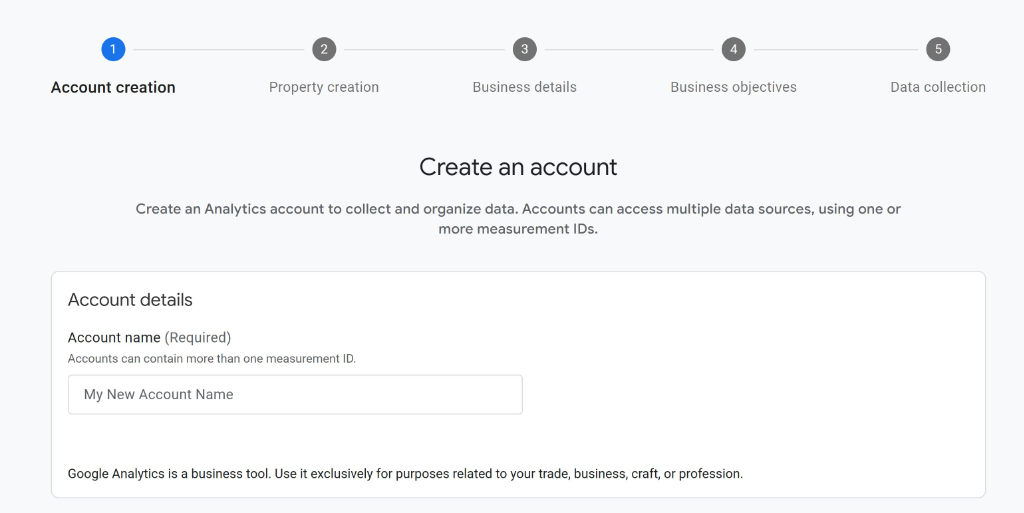
After that, you’ll need to enter an account name for your Google Analytics account.
For instance, you can enter your business name to get started.
Next, you can scroll down and view the Account Data Sharing Settings. These settings give you control over sharing your Google Analytics data.
Here, you can keep the default settings or select which options to keep by clicking the checkboxes. Once that’s done, click the Next button at the bottom.

After that, you will need to enter a Google Analytics 4 Property name.
Besides that, you can also select the reporting time zone and currency.
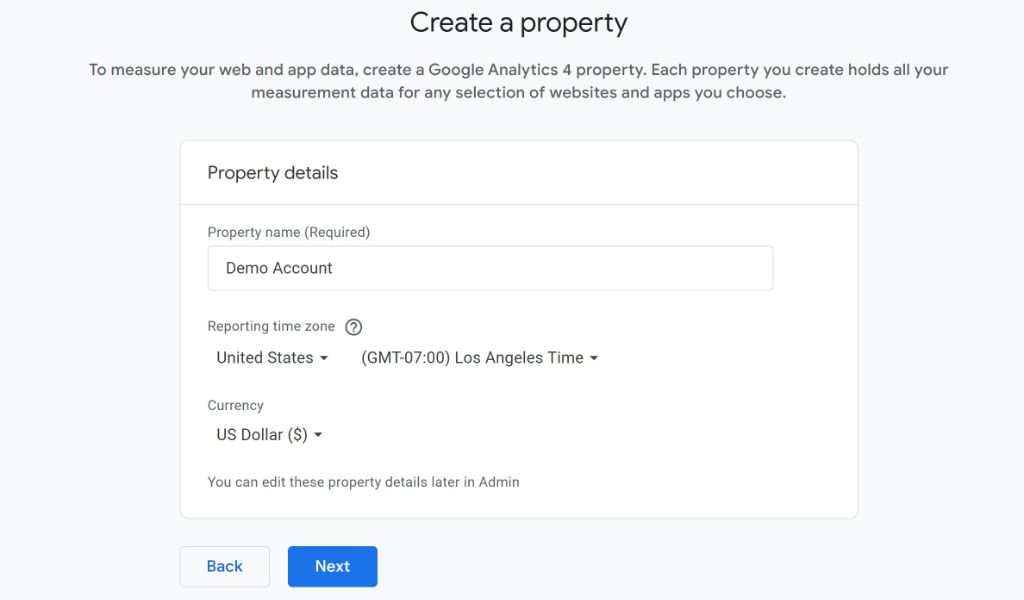
Once that’s done, click the ‘Next’ button.
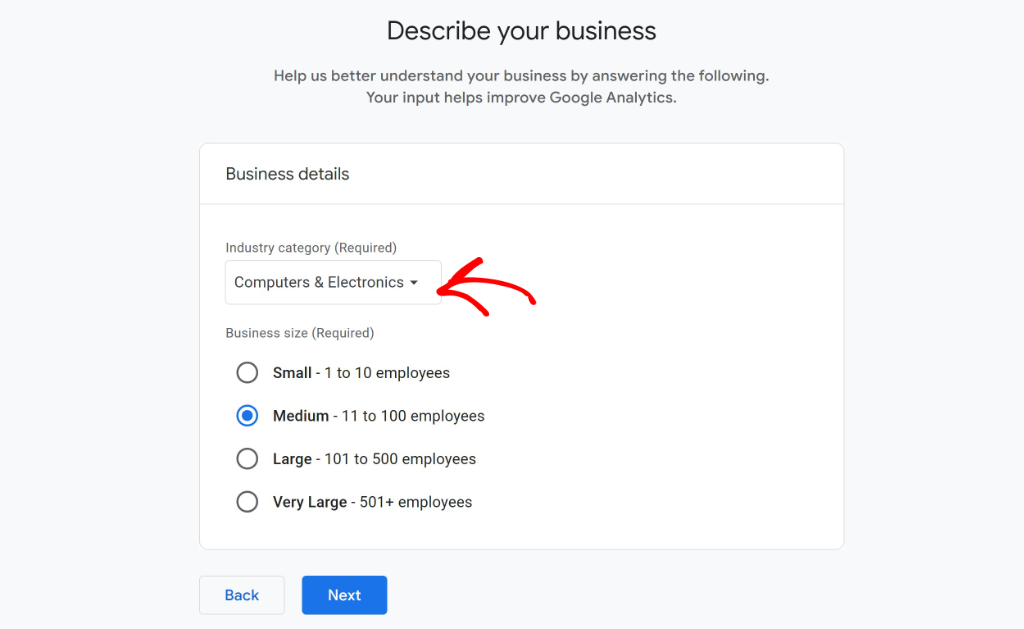
On the next screen, Google Analytics will ask you to describe your business. Simply click the ‘Industry category’ dropdown menu and choose an industry you’re in.
After that, select the business size from the given options and click the ‘Next’ button.
Next, Google Analytics will require you to choose your business objectives.
For example, you can select options like generate leads, drive sales, view user engagement, and more.

Once that’s done, go ahead and click the Create button.
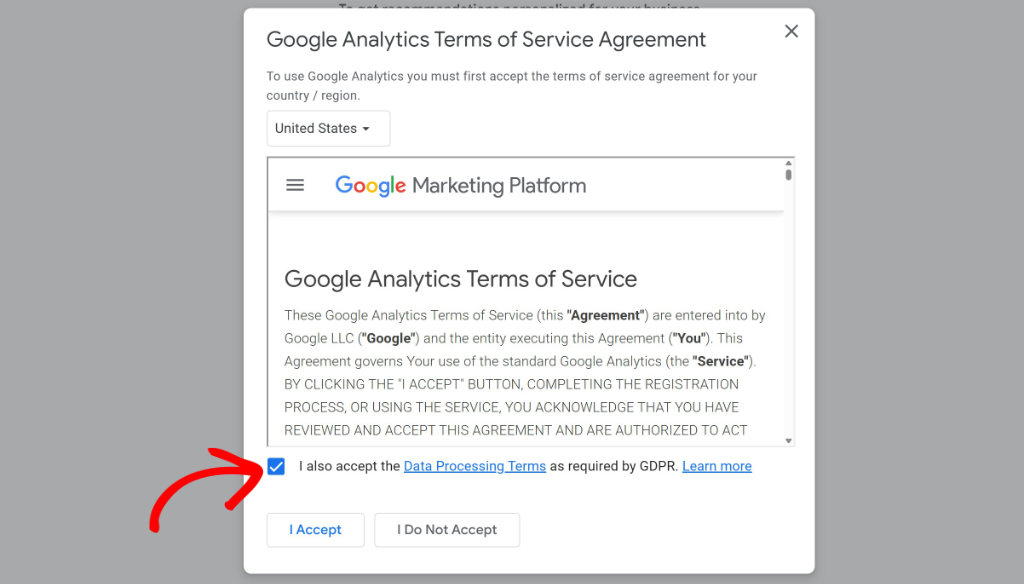
A new popup window will now open with the Google Analytics terms of service agreement. You’ll need to click the checkbox in the bottom and then click the I Accept button.
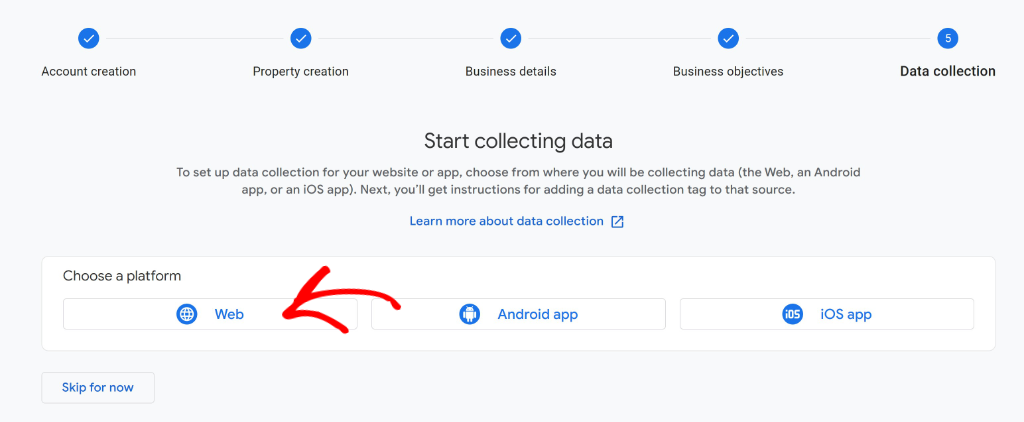
Next, Google Analytics will show you different platforms for collecting data.
Since you want to install Google Analytics on your WordPress site, go ahead and select the Web option.
From here, you will see the screen to set up data stream.
To start, you’ll need to enter your Website URL and then Stream name in the respective fields.
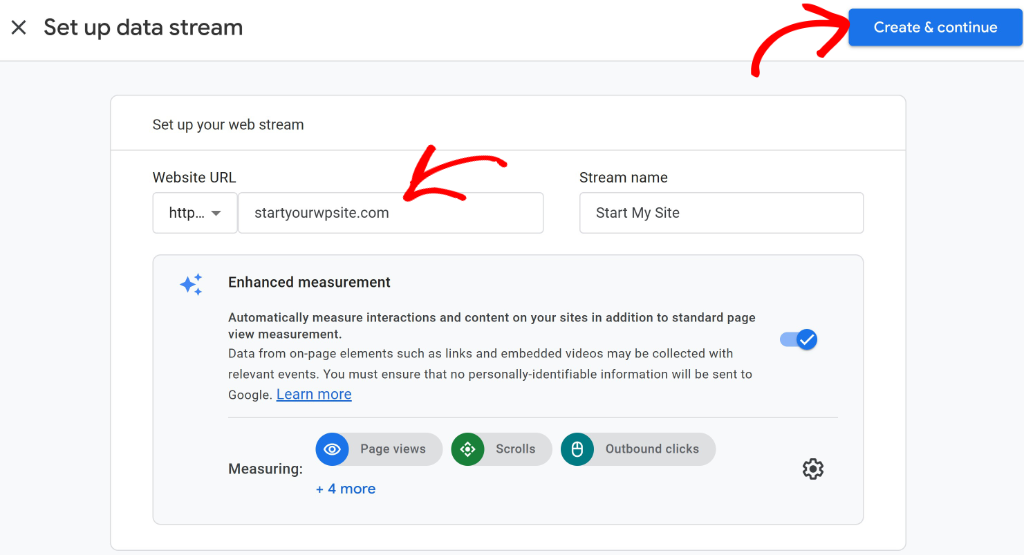
After doing that, click the Create & continue button.
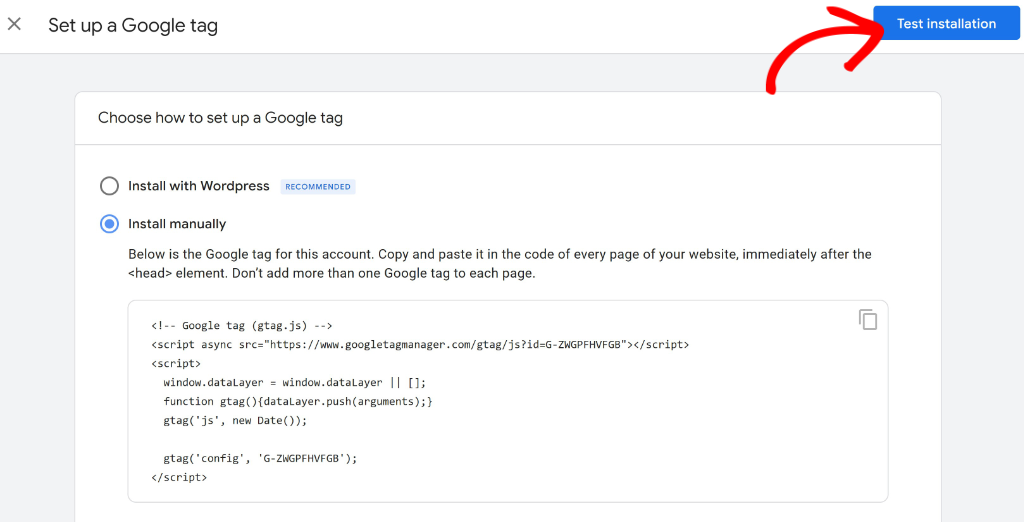
Next, you’ll be presented with options to add the Google tag to your WordPress site. This is the tracking code that needs to be on your site, so Google Analytics can track your user’s behavior.
I recommend selecting the Install manually option and then copying the tracking code.
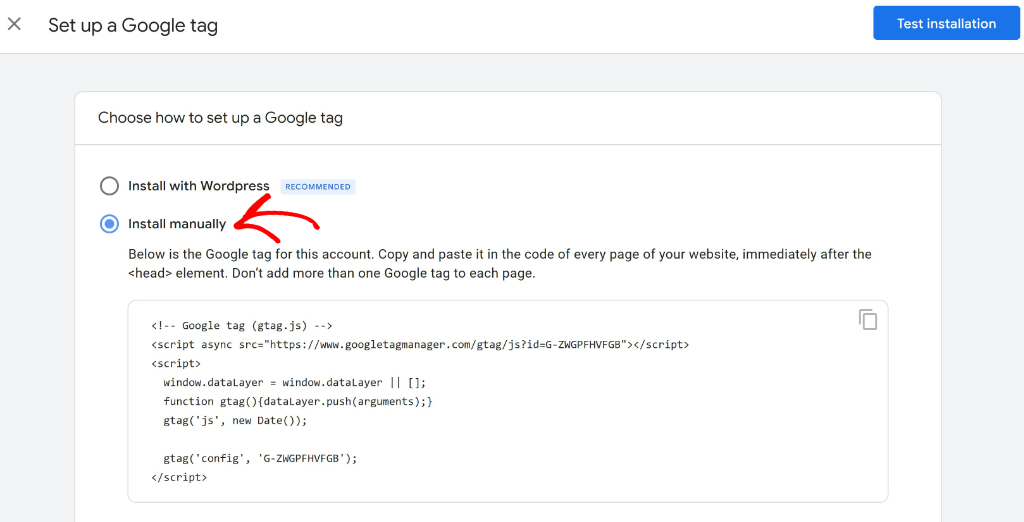
Once that’s done, let’s look at how you can add the tag to your site.
Adding Google Analytics to WordPress
Now, you’ll need to add the Google Analytics tracking code or Google tag to your site’s header.php file. This means editing the WordPress theme files and placing the code.
For beginners, this can be tricky because adding the code incorrectly can lead to several issues. You might break your site’s functionality or mess up the appearance.
An easier way to safely add the Google Analytics tracking code is by using WPCode. It is the best WordPress code snippet plugin that lets you insert, edit, and manage snippets on your site.
The best part is that your tracking code stays in place even if you update or replace your website theme. Plus, you can use the WPCode Lite version for free to install Google Analytics.
To get started, you can go to Plugins » Add New Plugin from the WordPress admin panel and search for ‘WPCode’ in the search bar.
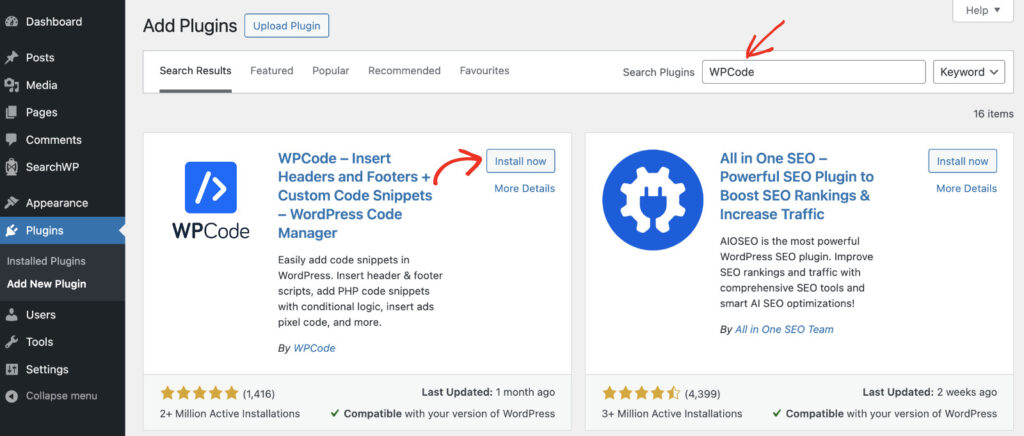
Next, you’ll need to click the ‘Install now’ button and activate the plugin. If you need help, then please follow this guide on how to install a WordPress plugin.
Once the plugin is active, you can head to Code Snippet » Header & Footer from your WordPress dashboard.
From here, enter the Google Analytics tracking code under the ‘Header’ section.
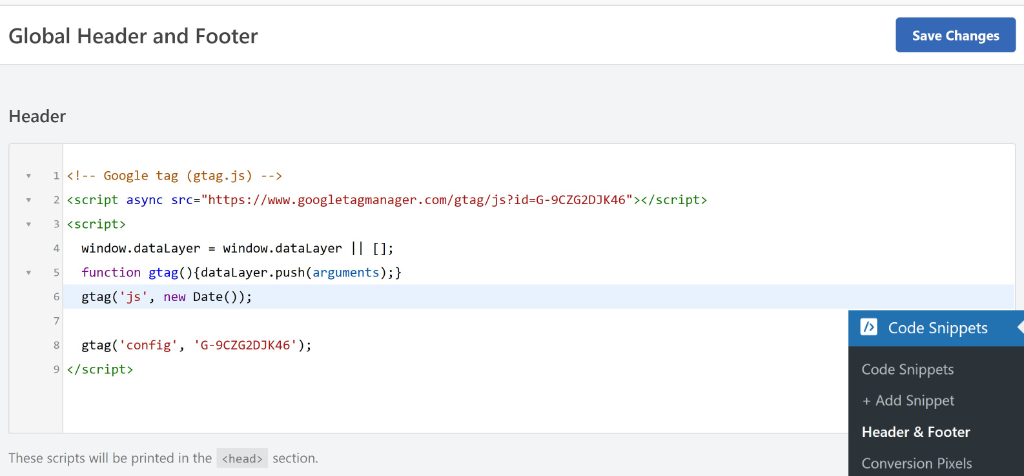
After doing that, simply click the ‘Save Changes’ button.
Next, you can head back to the tab or window on your browser where instructions for adding the Google Analytics tag were given. From here, click the Test installation button to check if the tracking code is inserted correctly on your site.
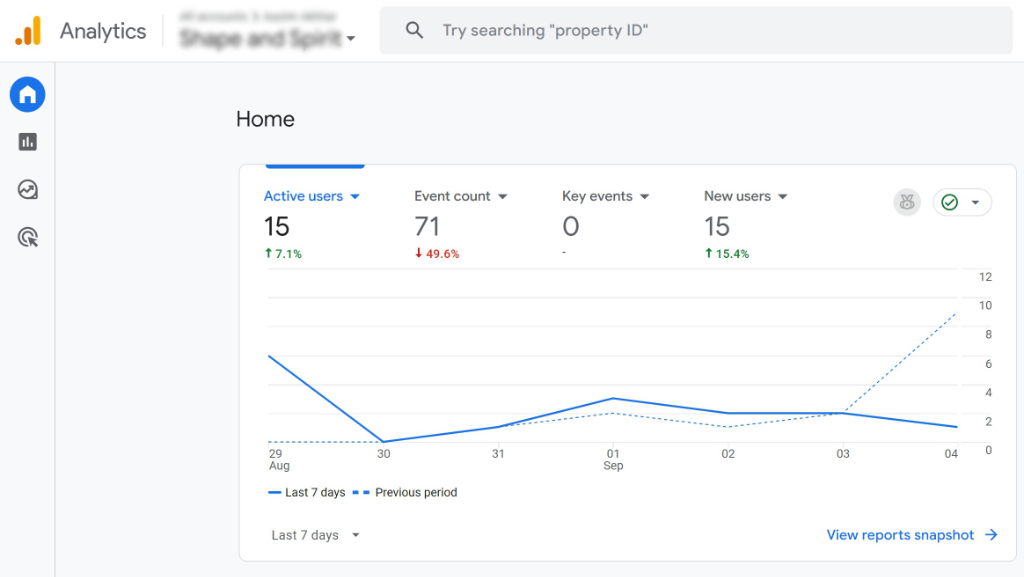
Do note that it can take up to 48 hours for Google Analytics to receive data.
But once it starts collecting data, you can view the reports to see how your visitors are interacting with your WordPress website.
Bonus: Alternate Ways of Setting Up Google Analytics
Now that you know how to add Google Analytics to WordPress using WPCode for free, here are other ways for setting up the analytics tool to your site.
1. Add Google Analytics ID to WordPress
As an alternative, you can use the WPCode’s Conversion Pixel addon to simply add the Google Analytics ID to your WordPress site and start tracking. This method doesn’t involve editing code to your site’s header and very straightforward.
Do note that you’ll need the WPCode Pro version because it includes the Conversion Pixel addon.
To get started, you’ll need to go to Code Snippets » Conversion Pixels from the WordPress dashboard. From here, simply click the ‘Install Addon Now’ button and wait a moment. The addon will be installed and activated automatically.
Once the addon is active, you can head to the ‘Google’ tab.
After that, simply enter your Google Analytics ID.
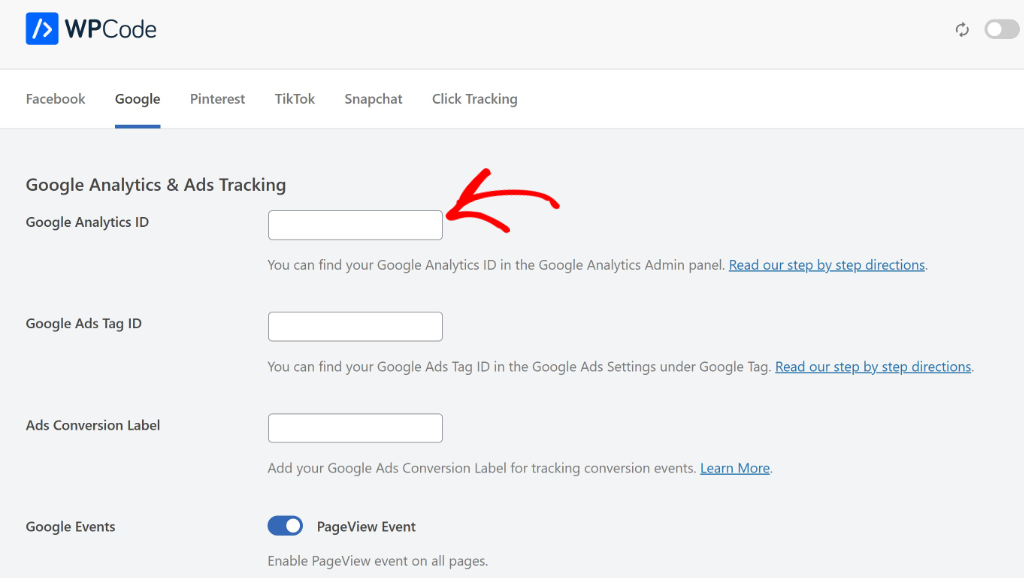
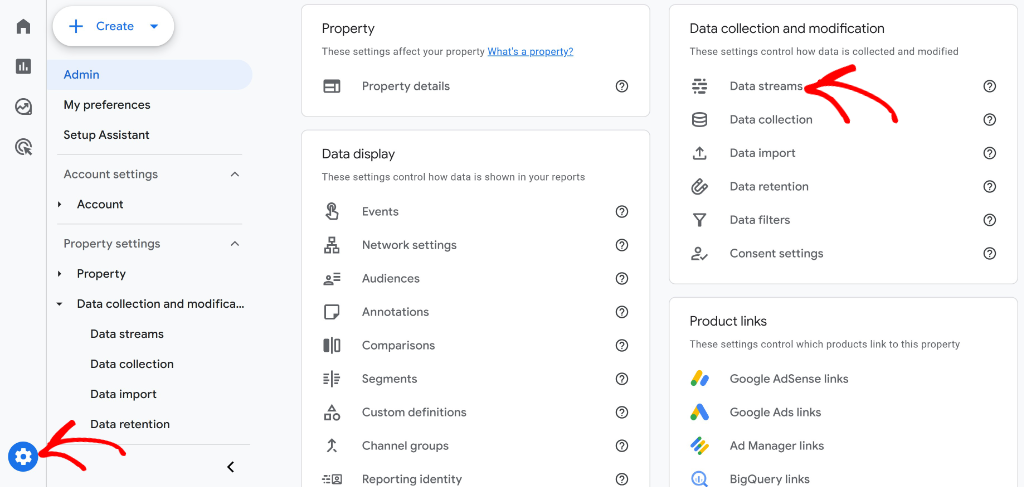
You can find the ID by going to your Google Analytics account and then head to the Admin settings.
From here, simply click the Data streams option.
On the next screen, you will see all your data streams.
Go ahead and select the one you’d like to add to WordPress.

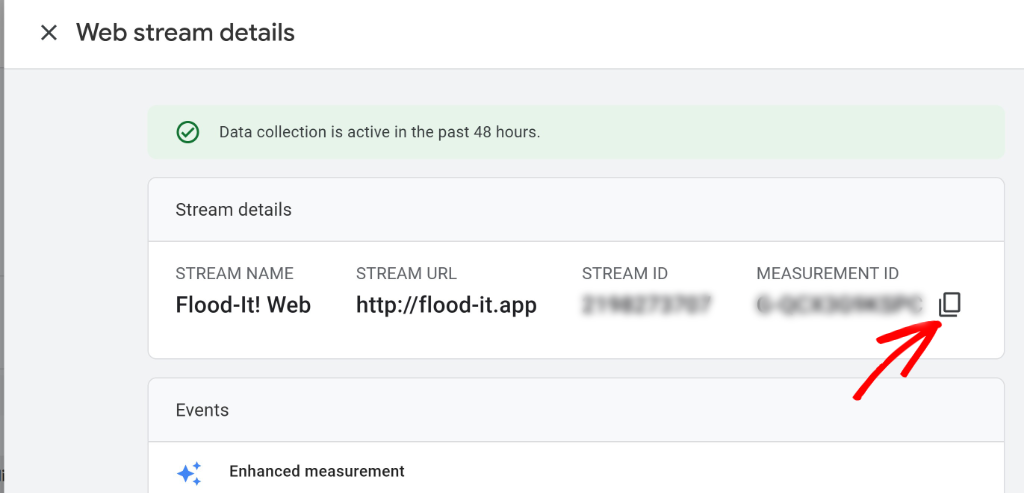
After that, you should the see web stream details.
Simply copy the Measurement ID and paste in WPCode Conversion Pixel addon.
2. Set Up Advanced Tracking using MonsterInsights
Do you want to set up advanced tracking in Google Analytics? And also get reports inside your WordPress dashboard that are easier to understand?
Then MonsterInsights is the best solution for this. It is one of the leading Analytics plugins for WordPress and also helps add Google Analytics without editing code.
Using MonsterInsights, you can set up advanced tracking, such as form submissions, eCommerce conversions, button and link clicks, ad tracking, author tracking, video engagement, view user journey, and more.
The best part is that you don’t have to edit any code while configuring these advanced tracking features. Plus, you get to see all the data inside your WordPress dashboard. These reports are easy to understand and help you make data-driven decisions.

To learn more, you can see this ultimate guide to MonsterInsights dashboard reports.
Making The Most Out Of Google Analytics
Now that you have Google Analytics up and running, here are a few tips to leverage its full potential:
- Set Goals: Goals track specific user interactions on your website. Whether signing up for a newsletter or completing a purchase, setting goals helps you measure success.
- Review Regularly: Make it a habit to check your analytics regularly. Look for trends, identify which content works best, and understand where there’s room for improvement.
- Learn and Adapt: Google offers free courses through its Analytics Academy to help you understand and utilize more complex features of Google Analytics.
FAQs About Adding Google Analytics to WordPress
Here are some common questions about installing Google Analytics in WordPress.
1. Can I add Google Analytics to WordPress for free?
Yes, Google Analytics is a free tool, and you can add it to your WordPress site at no cost. Both manual integration and free plugins like WPCode allow you to add the tracking code without paying for anything.
2. Does manual integration via header.php get overridden by theme updates?
Yes, directly editing the header.php file can be overwritten when the theme is updated. A more update-safe method is to add the tracking code via a plugin like WPCode that safely keeps the code even if you change or update your theme.
3. How do I verify Google Analytics is working after installation?
After adding the tracking code, visit your WordPress site and then check the Realtime report in Google Analytics. If your visit is tracked, the integration is working correctly.
4. Will I see Google Analytics data inside my WordPress dashboard?
If you use plugins like MonsterInsights, you can view Google Analytics reports within your WordPress dashboard. If you add the code manually without a plugin, you have to view data directly in your Google Analytics account.
I hope this article helped you learn how to add Google Analytics in WordPress. You may also want to see our guide on how to add Google Fonts to your WordPress site and how to add custom code in WordPress safely.
If you need help, then feel free to leave a comment below. And don’t forget to follow us on X (formerly known as Twitter) and subscribe to our newsletter for all the latest updates.

